Openers · Oakland
Photo-Eye Sensor Alignment or Replacement in Oakland
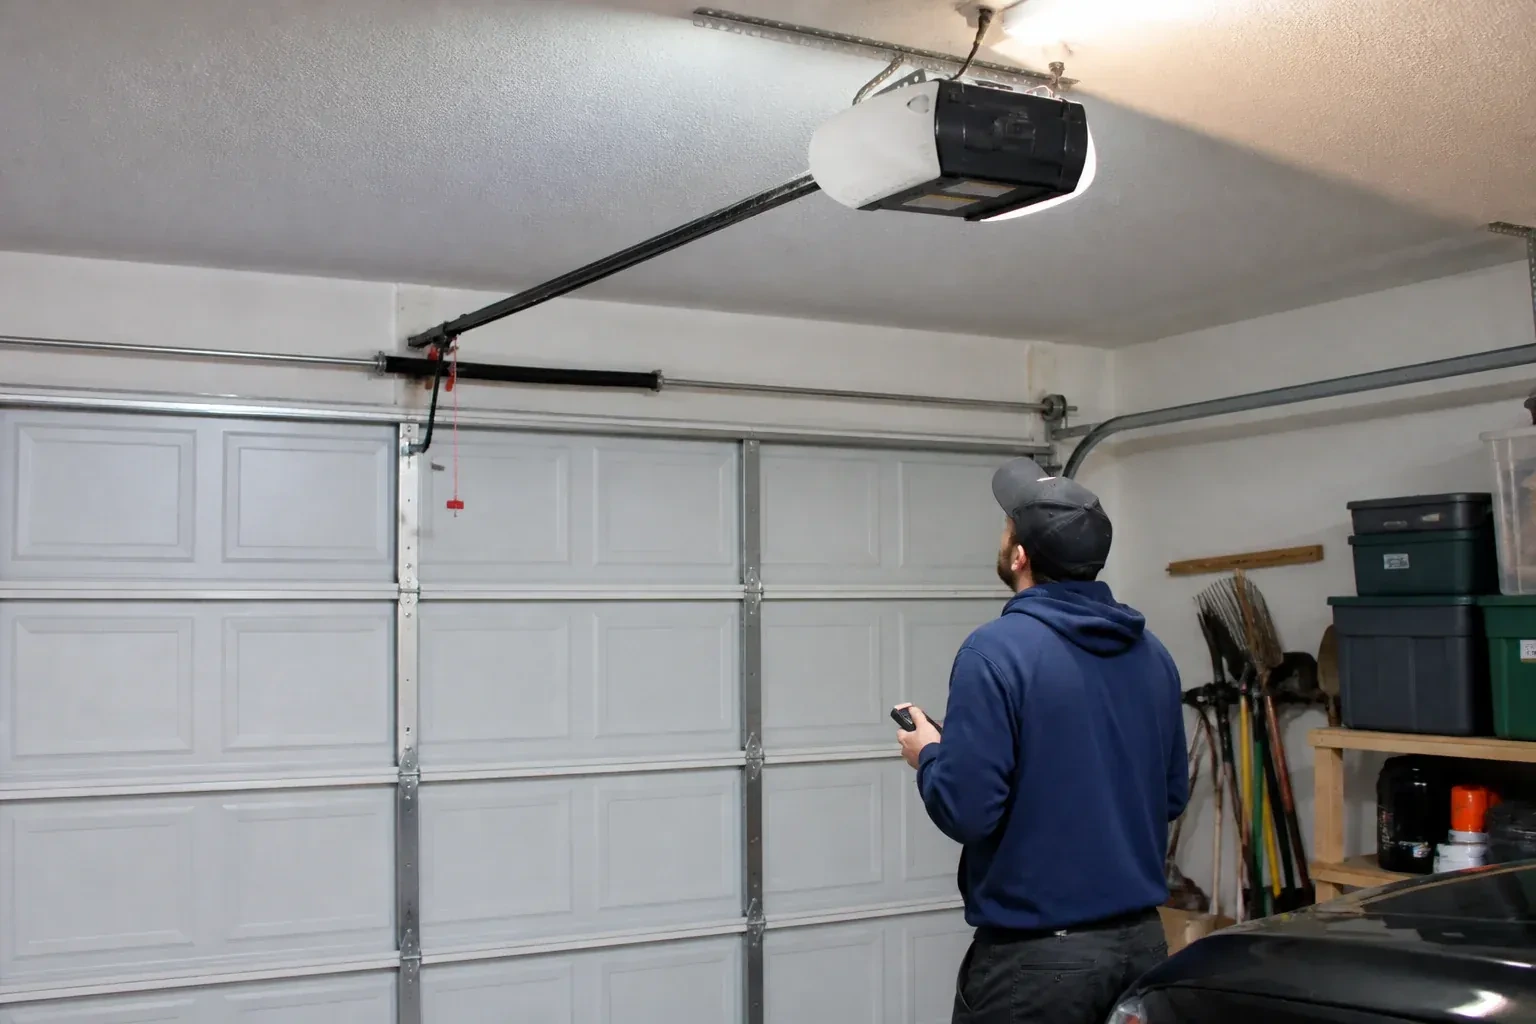
Someone backed the car in a little too far, a bin or a bicycle brushed the track, and since then the door starts to close and comes back up.
In plain words
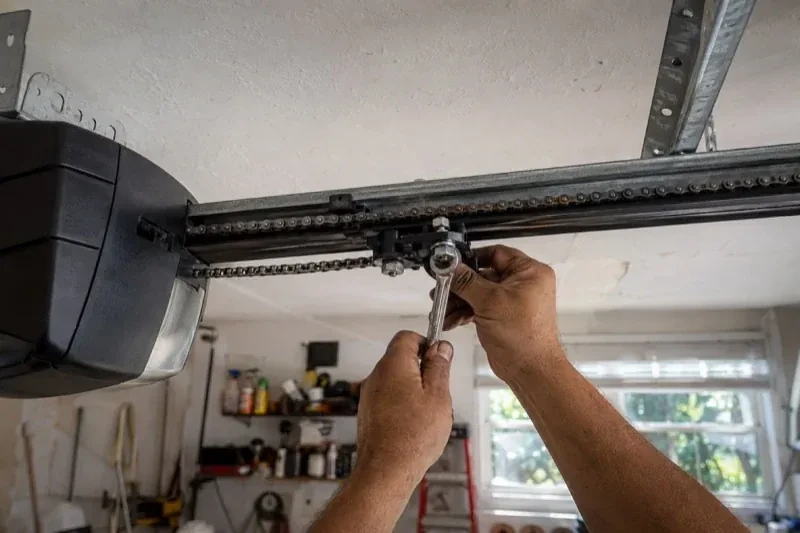
The sensors are only as good as the thin two-conductor wire that links them to the opener. It runs from the low-voltage terminals on the head unit along the ceiling and down each wall to the floor, stapled as it goes, and it is easily pierced, cut during renovations, chewed, or pulled loose at the terminals. When both sensor lights are dark, or the opener's code says the circuit is open or reversed, the technician tests the run end to end, repairs the damaged section or replaces the whole run, checks polarity at the terminals, and clips the new wire clear of the track.
How the visit goesThe small light on one of the sensors near the floor has gone dark, or it flickers when someone walks past the track. The other one glows steadily. The door refuses to close from the car.
Photo-Eye Sensor Alignment or Replacement
How the visit goes
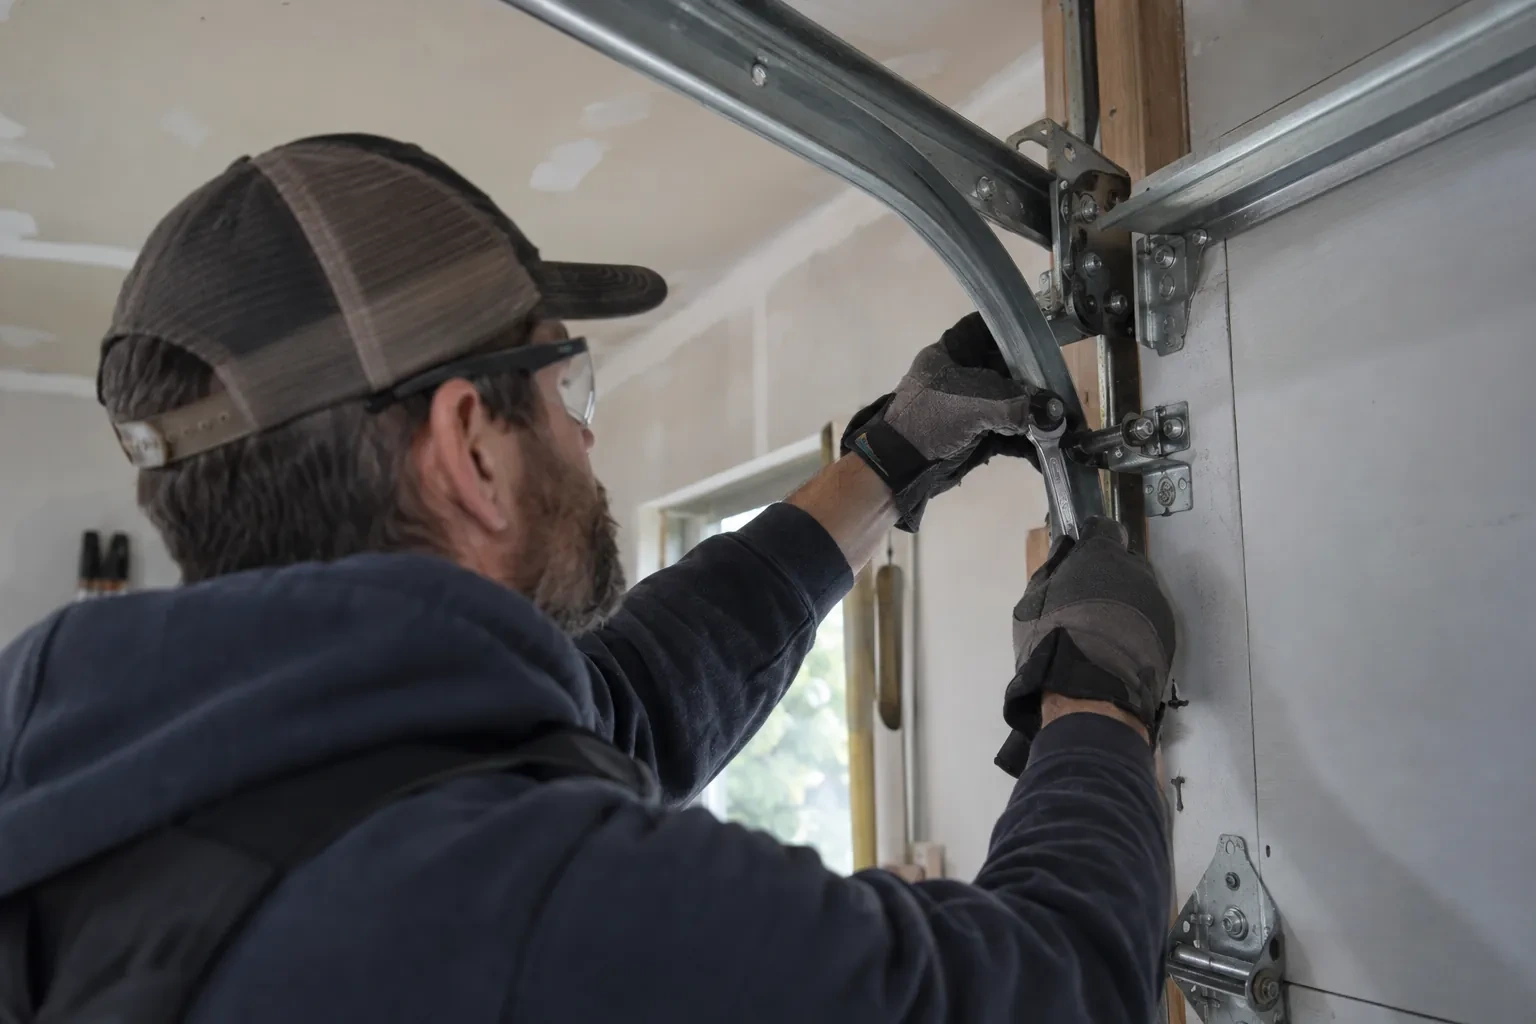
Clearing and walking the beam
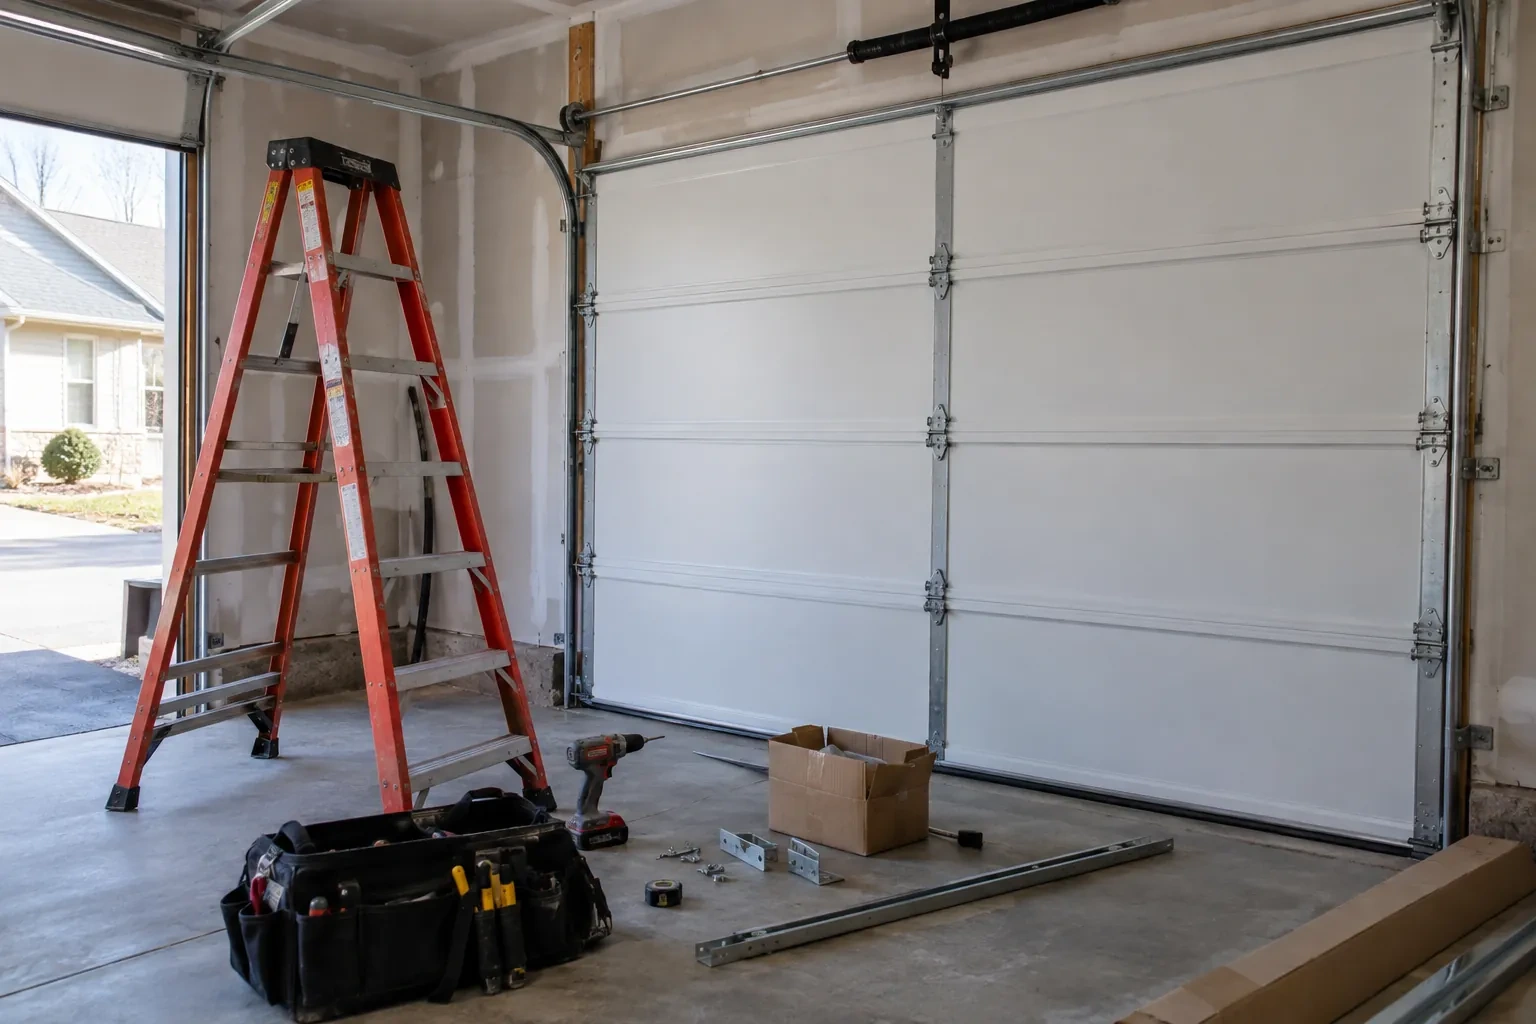
Before anything is adjusted, the technician clears the strip of floor between the two sensors and looks along the beam line at sensor height. Things that break a beam are rarely dramatic: the corner of a recycling bin, a hose left coiled by the wall, a bag of salt, leaves blown in under the door, a cobweb bridging a lens, a new weatherstrip or track shoe that sits a little proud. Snow and ice piled inside the door in winter count too. With the path clean, the door is tried again, because a fair share of sensor calls end right here, with a lesson about where things can and cannot sit.
Repairing the wire run
Damaged wire is dealt with in whole sections rather than patched at a single point. A pierced or chewed length is cut back to sound insulation and either spliced with proper connectors or, more often, replaced from the sensor to the nearest good junction. Where the run has failed in more than one place, a fresh two-conductor wire is stapled from the motor housing across the ceiling and down both sides of the opening, kept clear of the track, hinges and the door's travel. At the head unit the pair is landed on the correct low-voltage terminals with polarity confirmed, and the sensor lights are checked before anything is tidied.
A record of the work
You have a short written note of what was done: the opener make and model, what the diagnostic code and the sensor lights showed on arrival, whether the fault was alignment, wiring, sun or a worn sensor, what was replaced and where the new parts sit. It records the height the sensors were set at and that both tests were passed with you watching. That note is useful for a home inspection, for the next technician, and for you, because it shows what normal looks like on this door so a future change is easy to describe over the phone.
Photo-Eye Sensor Alignment or Replacement
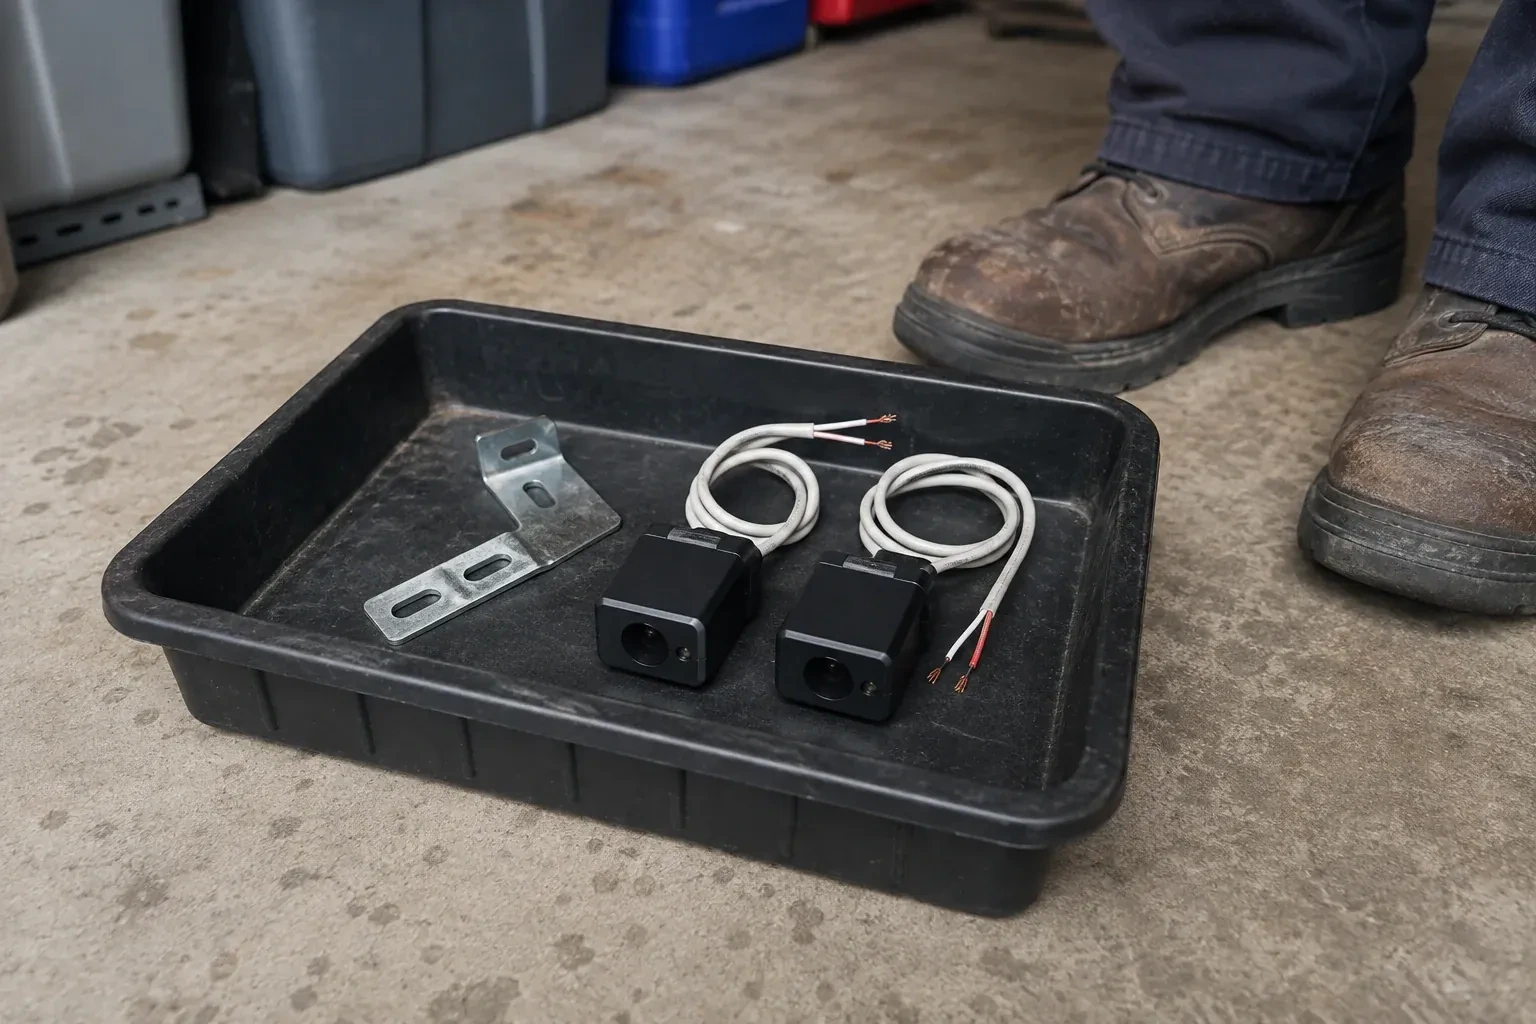
In the van
Protective wire channel
2x4 test block
Insulated wire staples
Receiving-eye sun shade
Matched photo-eye sensor pair
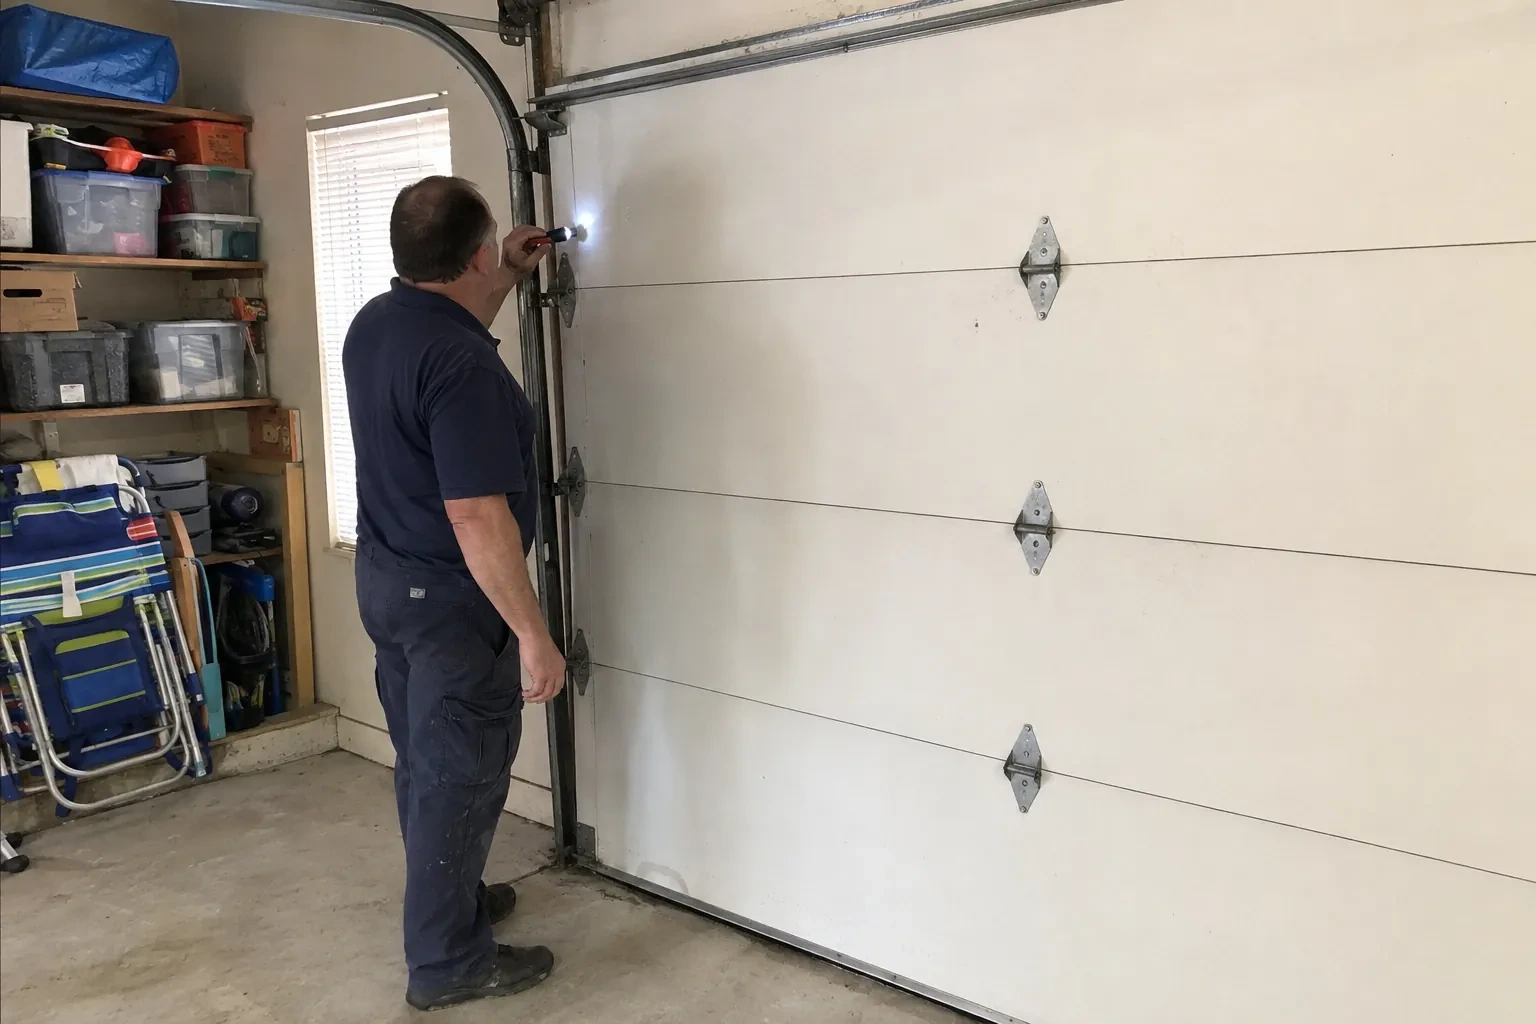
Photo-Eye Sensor Alignment or Replacement
What affects the quote
Winter conditions on the day
Snow and ice packed against the brackets, a frozen bottom seal or a frozen floor where anchors must go all add a little clearing and care before the sensor work itself can start.
Sun and reflection remedies
Swapping the sensors side to side is a small addition when the wiring reaches. Fitting a shade, or extending the wire so the receiver can move, is a little more and is listed on its own.
Bracket condition
A bracket that can be straightened costs little time. One that is cracked, rusted through or missing is replaced, and a change from track clips to wall or floor brackets adds anchors and mounting work.
What to have ready
- How many doors and openers are there?
- Does the opener light flash when you press close, and how many times?
- Is there frost, snow, slush or salt around the sensors in winter?
Photo-Eye Sensor Alignment or Replacement: questions
QuestionsCan the sensors be mounted on the wall instead of the track?
Track-mounted clips are the preferred, manufacturer-recommended arrangement. A wall-mounted angle bracket is the next choice where the track sits far back from the opening or the clip keeps getting bumped; mounting to the concrete floor is kept as a last resort, used only when the sensor's own instructions allow it. The same rules apply: both sensors at a matched height no higher than about 15 cm, level, facing each other, with the wire secured. Wall mounting sometimes gives a cleaner beam line on older doors with unusual track layouts.
What happens during the visit, in order?
Questions first: what the door does, when it began, what changed. Then the beam path is cleared, the sensor lights are read, the opener's flash code is counted, and the brackets and heights are measured. If the signs point to the circuit, the wire is traced and tested with a meter. The cause is fixed, whether that is alignment, brackets, wire, a shade or a new pair, and the visit closes with the beam test and the contact reversal test.
What can I check myself before calling?
Three things, all safe. Look along the floor between the sensors for anything in the path, including snow, leaves or a cobweb across a lens. Look at the two sensor lights and note whether one is dark or flickering, or both are dark. Press close and count the flashes of the opener light. If moving an object or wiping a lens brings the receiving light back on steadily, the door may close normally again; if not, those observations make the visit shorter.