Openers · Brant
Photo-Eye Sensor Alignment or Replacement in Brant
Someone backed the car in a little too far, a bin or a bicycle brushed the track, and since then the door starts to close and comes back up.
In plain words
Two small sensors face each other across the doorway: one sends an infrared beam, the other receives it. While the beam lands on the receiver, the opener will close the door; the moment anything interrupts it, the door stops and returns to open. Every sensor call comes down to why the receiver has lost the beam: an object, a bent bracket, a dirty or frosted lens, sun in the receiving eye, a broken wire or a tired sensor. The technician works through those in order, fixes the one that applies, and shows you the steady indicator lights that mean the pair is talking again.
How the visit goesSomeone backed the car in a little too far, a bin or a bicycle brushed the track, and since then the door starts to close and comes back up. One sensor now sits at a slightly different angle from the other.
Photo-Eye Sensor Alignment or Replacement
How the visit goes
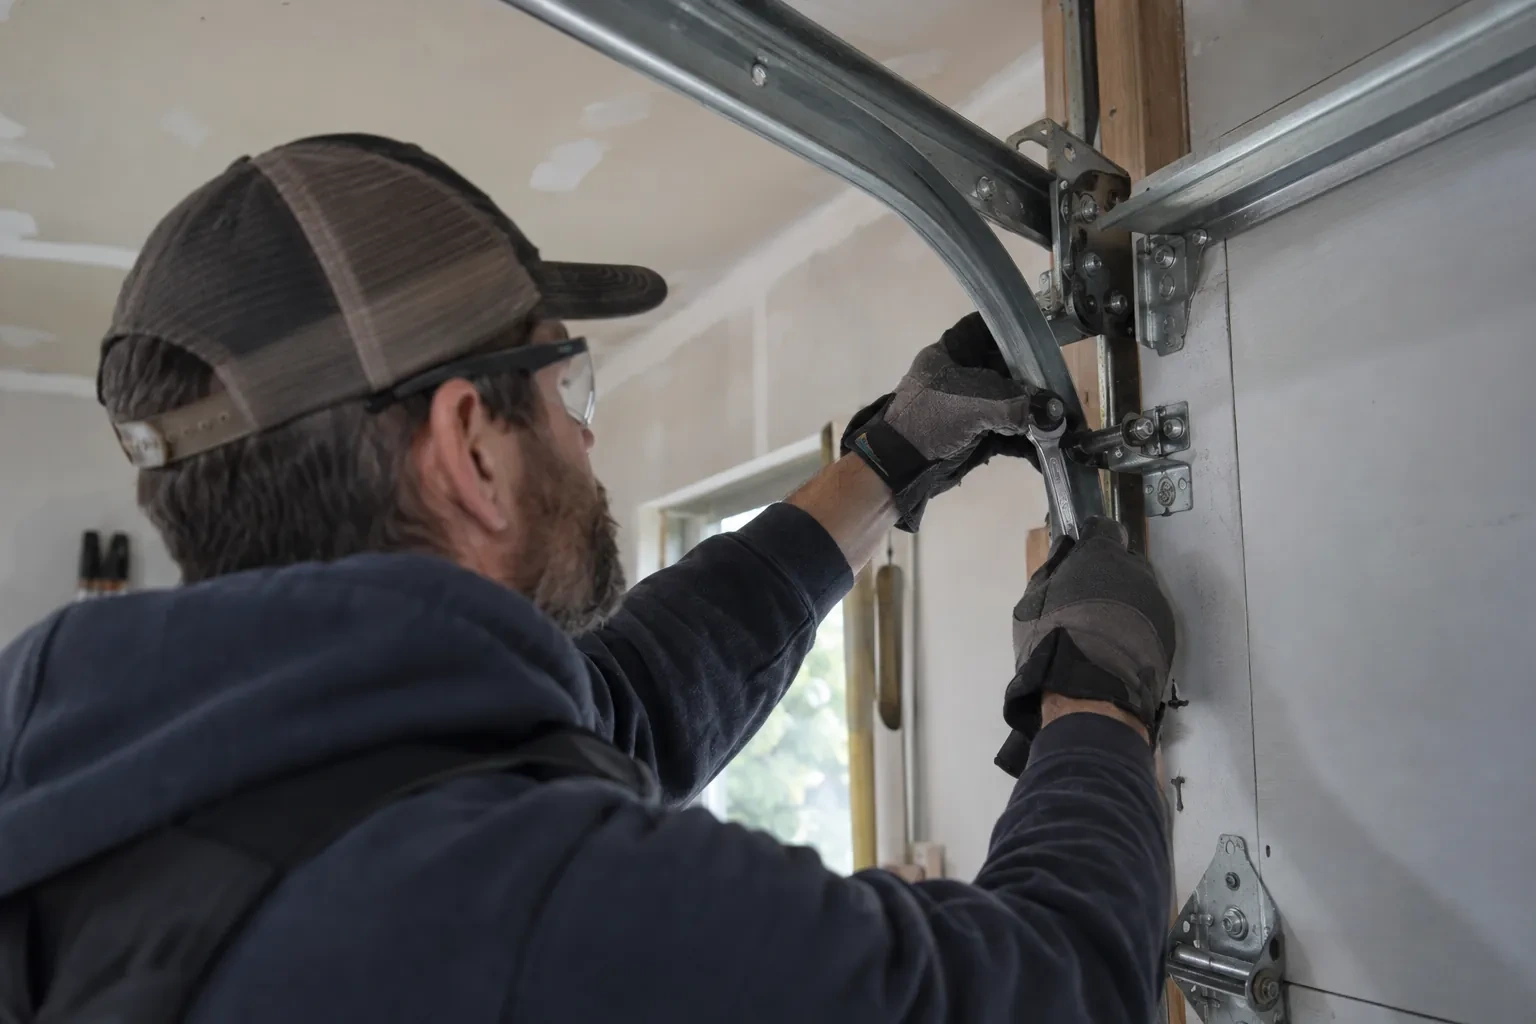
Counting the opener's flashes
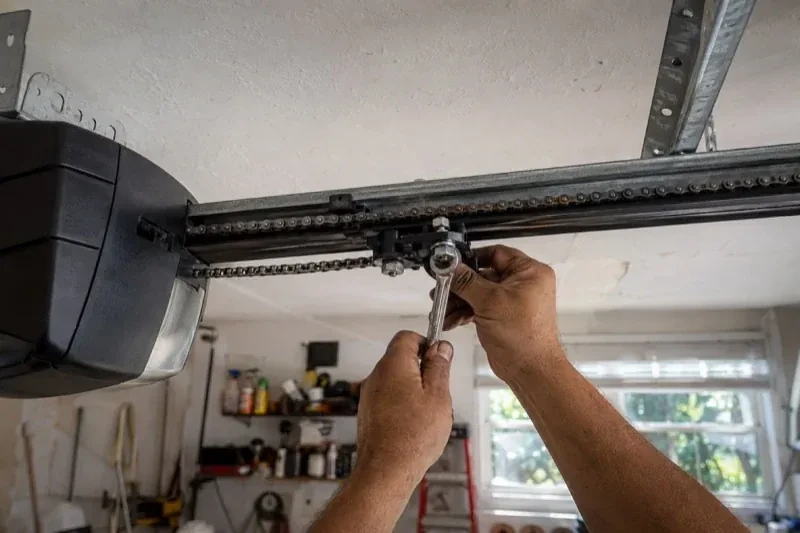
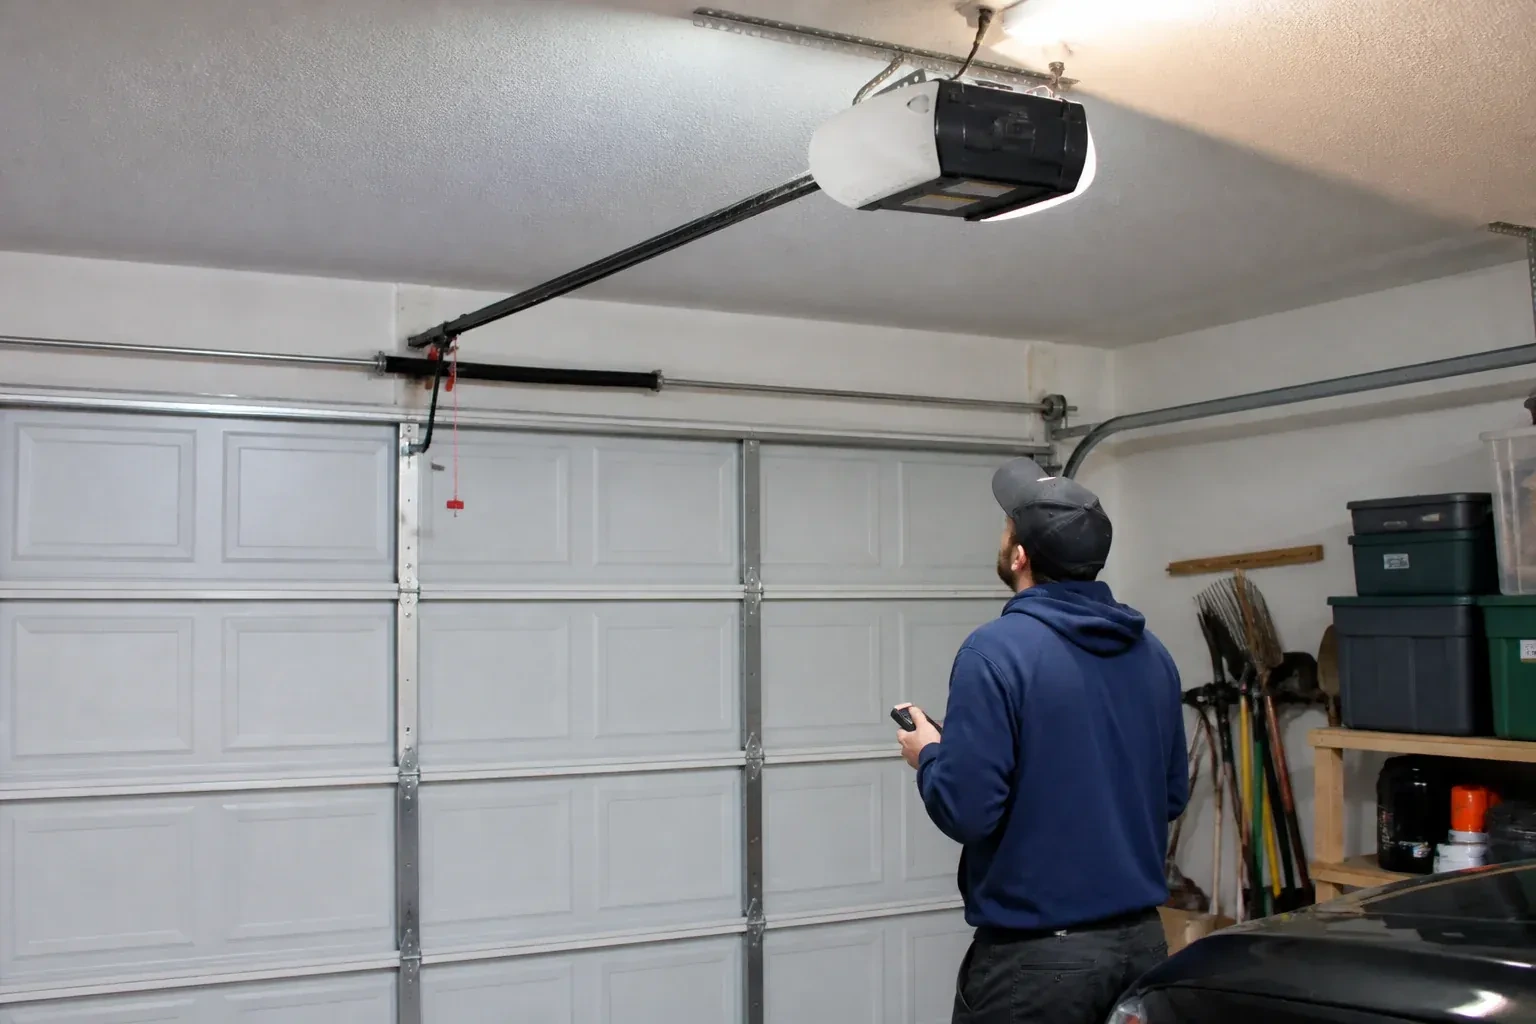
The head unit has its own way of reporting a sensor problem. Many openers flash the light bulb a fixed number of times when close is pressed and the beam is not satisfied, and newer units blink a code on their up and down arrows that separates a blocked or misaligned beam from a cut wire, a disconnected pair or reversed wiring. The technician reads the model off the label, counts the pattern and matches it to the maker's chart. This is what keeps the visit efficient: a code that says the circuit is open sends the work to the wiring, while a code that says obstructed or misaligned sends it to the brackets.
Dealing with the sun
A receiver that looks into the low sun is fixed by geometry. The simplest cure is to swap the two sensors side to side so the receiver looks away from the doorway light and the sending eye, which is not affected, takes the sunny position. Where the layout rules that out, a small hood or shade is fitted over the receiving lens, deep enough to shield it without narrowing the beam path. The wiring is extended or re-routed as needed and both lights are checked at the time of day the fault used to appear, or with a strong light aimed at the lens to stand in for the sun.
A record of the work
You have a short written note of what was done: the opener make and model, what the diagnostic code and the sensor lights showed on arrival, whether the fault was alignment, wiring, sun or a worn sensor, what was replaced and where the new parts sit. It records the height the sensors were set at and that both tests were passed with you watching. That note is useful for a home inspection, for the next technician, and for you, because it shows what normal looks like on this door so a future change is easy to describe over the phone.
Photo-Eye Sensor Alignment or Replacement
In the van
Protective wire channel
2x4 test block
Insulated wire staples
Receiving-eye sun shade
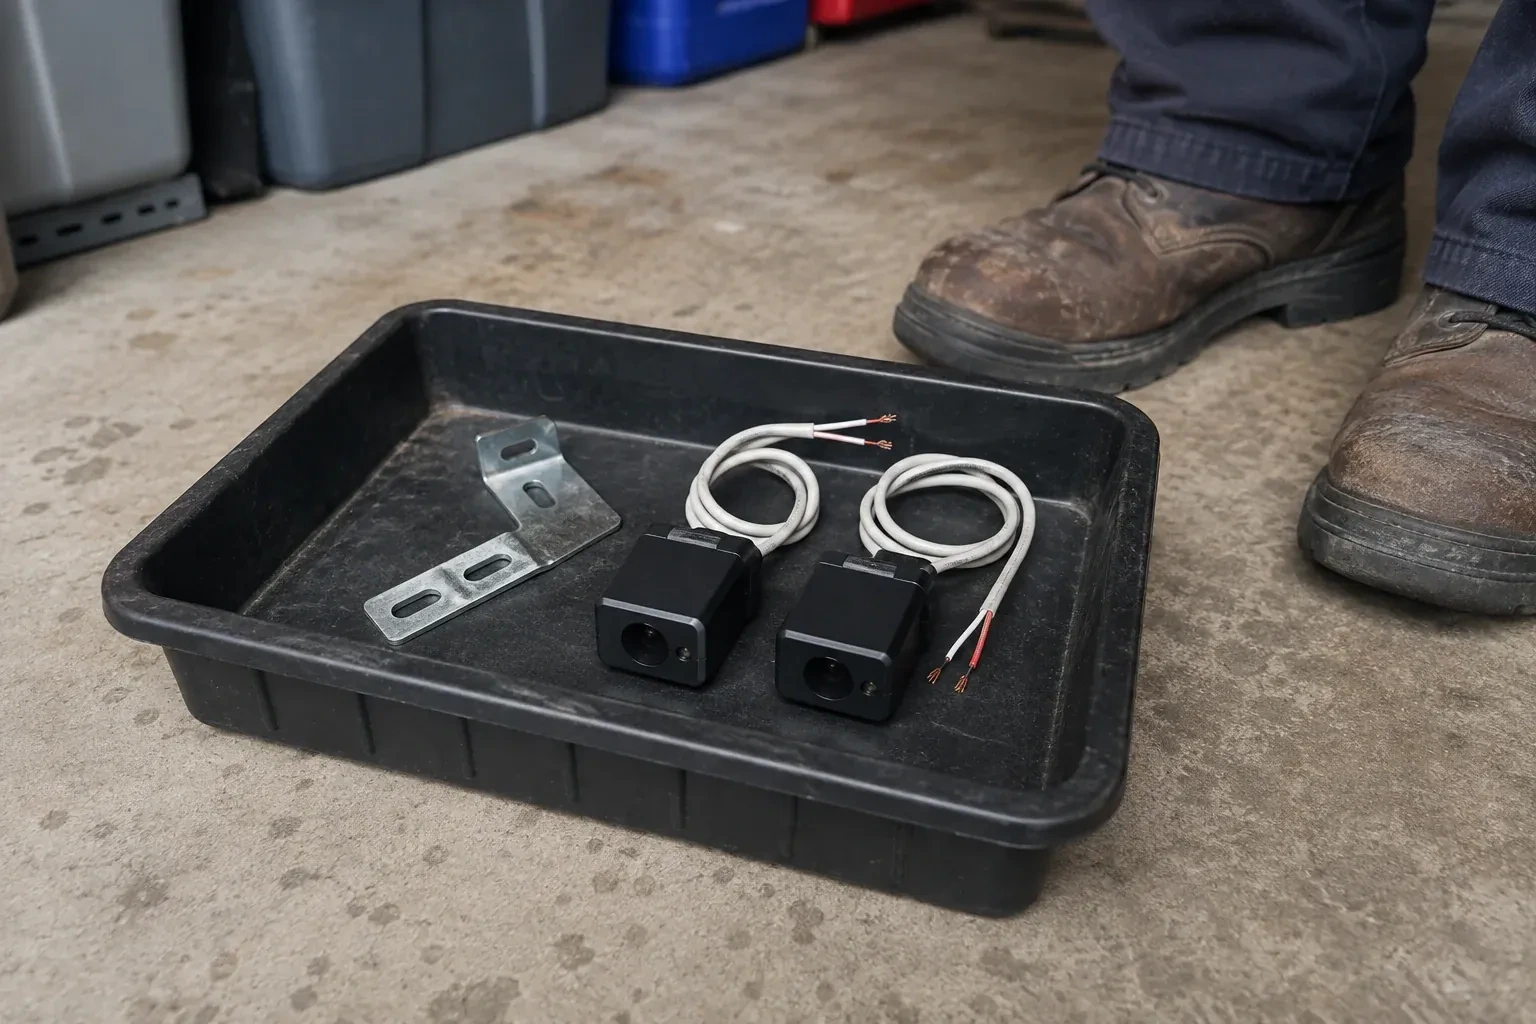
Matched photo-eye sensor pair
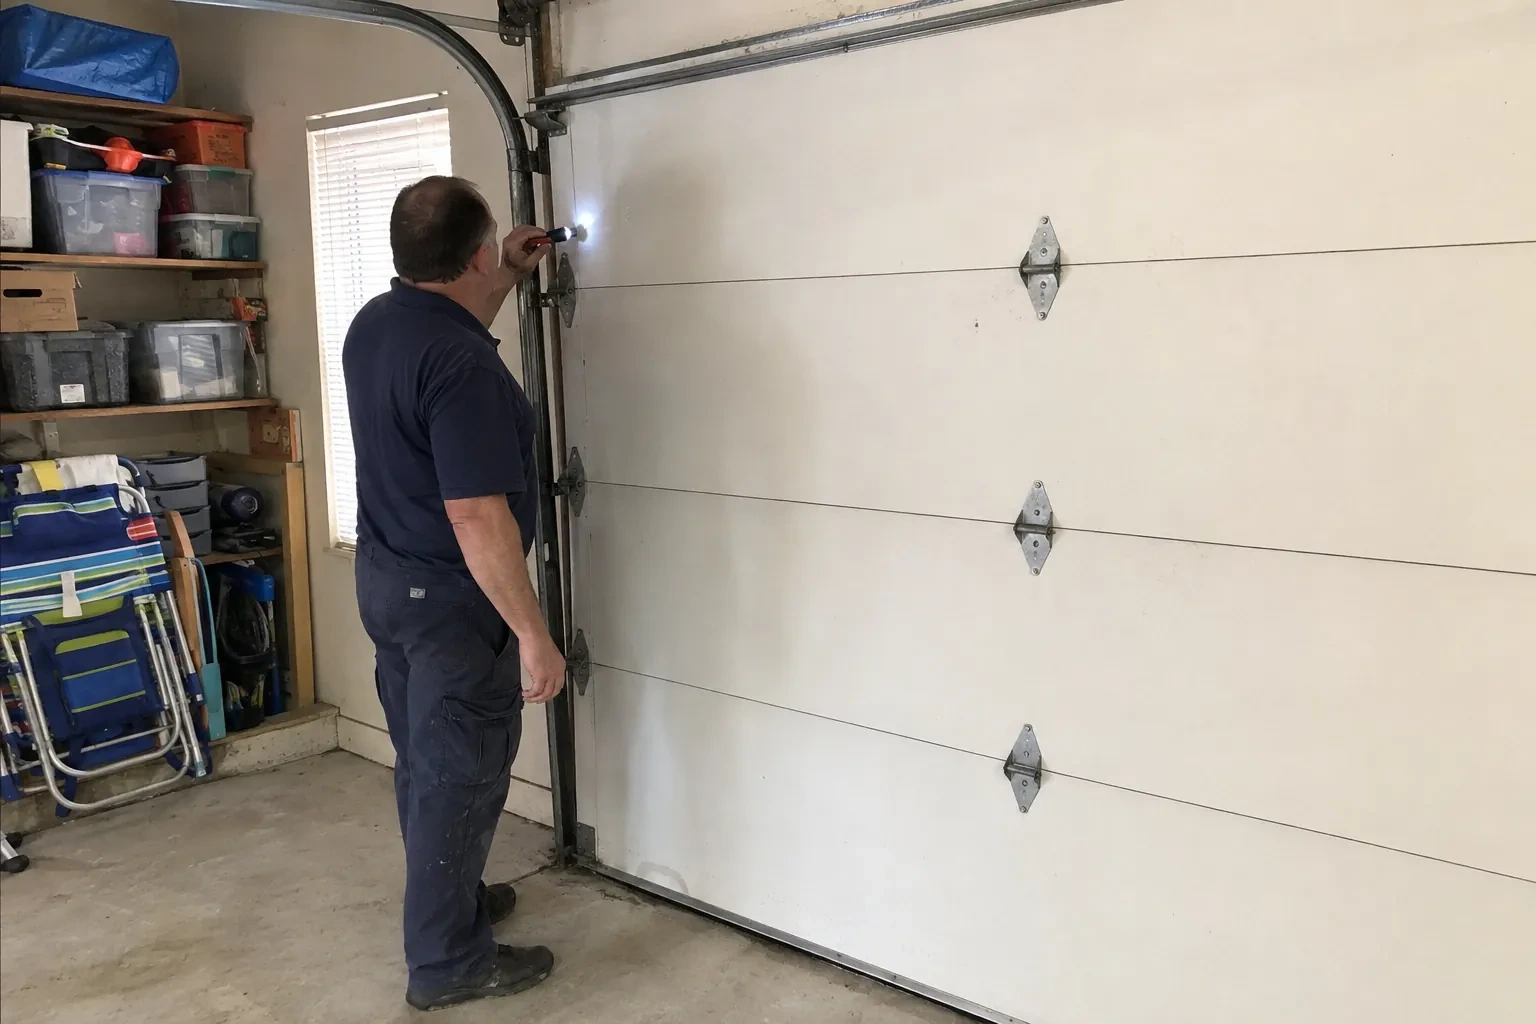
Photo-Eye Sensor Alignment or Replacement
What affects the quote
Wall or floor mounting with anchors
Mounting into concrete or masonry rather than onto the track means drilling, anchors and sealing against water, which takes more time than clipping to the rail.
Number of doors
Each opener has its own sensor pair and wire run, so a double garage with two doors is two sets of checks, two possible pairs and two rounds of testing, quoted per door.
Undoing an earlier shortcut
Sensors taped together beside the motor, mismatched pairs from different generations or a bypassed circuit are put right first, which means new wire down each side and fresh brackets at the doorway.
What to have ready
- What make and model is on the opener's label, and roughly how old is it?
- Can you see the thin sensor wire, and does any of it look pinched, cut or chewed?
- What do the two small sensor lights show: both steady, one dark or flickering, or both dark?
Photo-Eye Sensor Alignment or Replacement: questions
QuestionsCan the sensors be mounted on the wall instead of the track?
Track-mounted clips are the preferred, manufacturer-recommended arrangement. A wall-mounted angle bracket is the next choice where the track sits far back from the opening or the clip keeps getting bumped; mounting to the concrete floor is kept as a last resort, used only when the sensor's own instructions allow it. The same rules apply: both sensors at a matched height no higher than about 15 cm, level, facing each other, with the wire secured. Wall mounting sometimes gives a cleaner beam line on older doors with unusual track layouts.
What happens during the visit, in order?
Questions first: what the door does, when it began, what changed. Then the beam path is cleared, the sensor lights are read, the opener's flash code is counted, and the brackets and heights are measured. If the signs point to the circuit, the wire is traced and tested with a meter. The cause is fixed, whether that is alignment, brackets, wire, a shade or a new pair, and the visit closes with the beam test and the contact reversal test.
What can I check myself before calling?
Three things, all safe. Look along the floor between the sensors for anything in the path, including snow, leaves or a cobweb across a lens. Look at the two sensor lights and note whether one is dark or flickering, or both are dark. Press close and count the flashes of the opener light. If moving an object or wiping a lens brings the receiving light back on steadily, the door may close normally again; if not, those observations make the visit shorter.