Repairs · Brant
Garage Door Perimeter Weatherstrip
The new door went in last year and looks perfect, but the old wooden stop and its tired seal were left in place.
In plain words
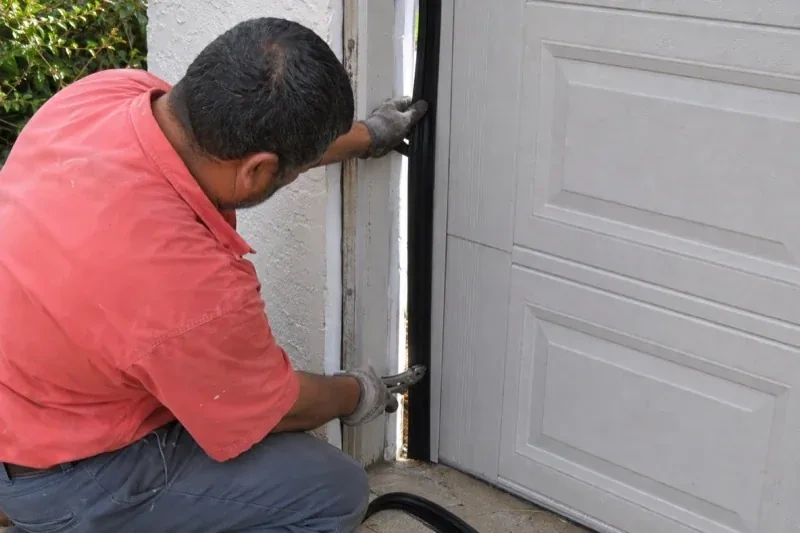
The skill in this job is in the position of the fin. It should touch the door with a small, even deflection, so that it seals when the door is closed and springs clear as the door lifts. Set too far off, it leaves a standing gap; pushed too hard, it drags, folds under and tears within a season. The header piece goes on first, fastened from the centre outward so it stays straight, and the sides are fitted tight beneath it so the fins overlap at the corners. Fasteners are spaced evenly in sound wood, and any joint where water could get behind the stop is caulked.
How the visit goesEvery time the door closes there is a rubbing squeal along one side, and the flexible fin has folded under itself and torn. Someone painted the trim last summer and painted the seal with it; now it is stiff as a board.
Garage Door Perimeter Weatherstrip
How the visit goes
Probing the jambs and header
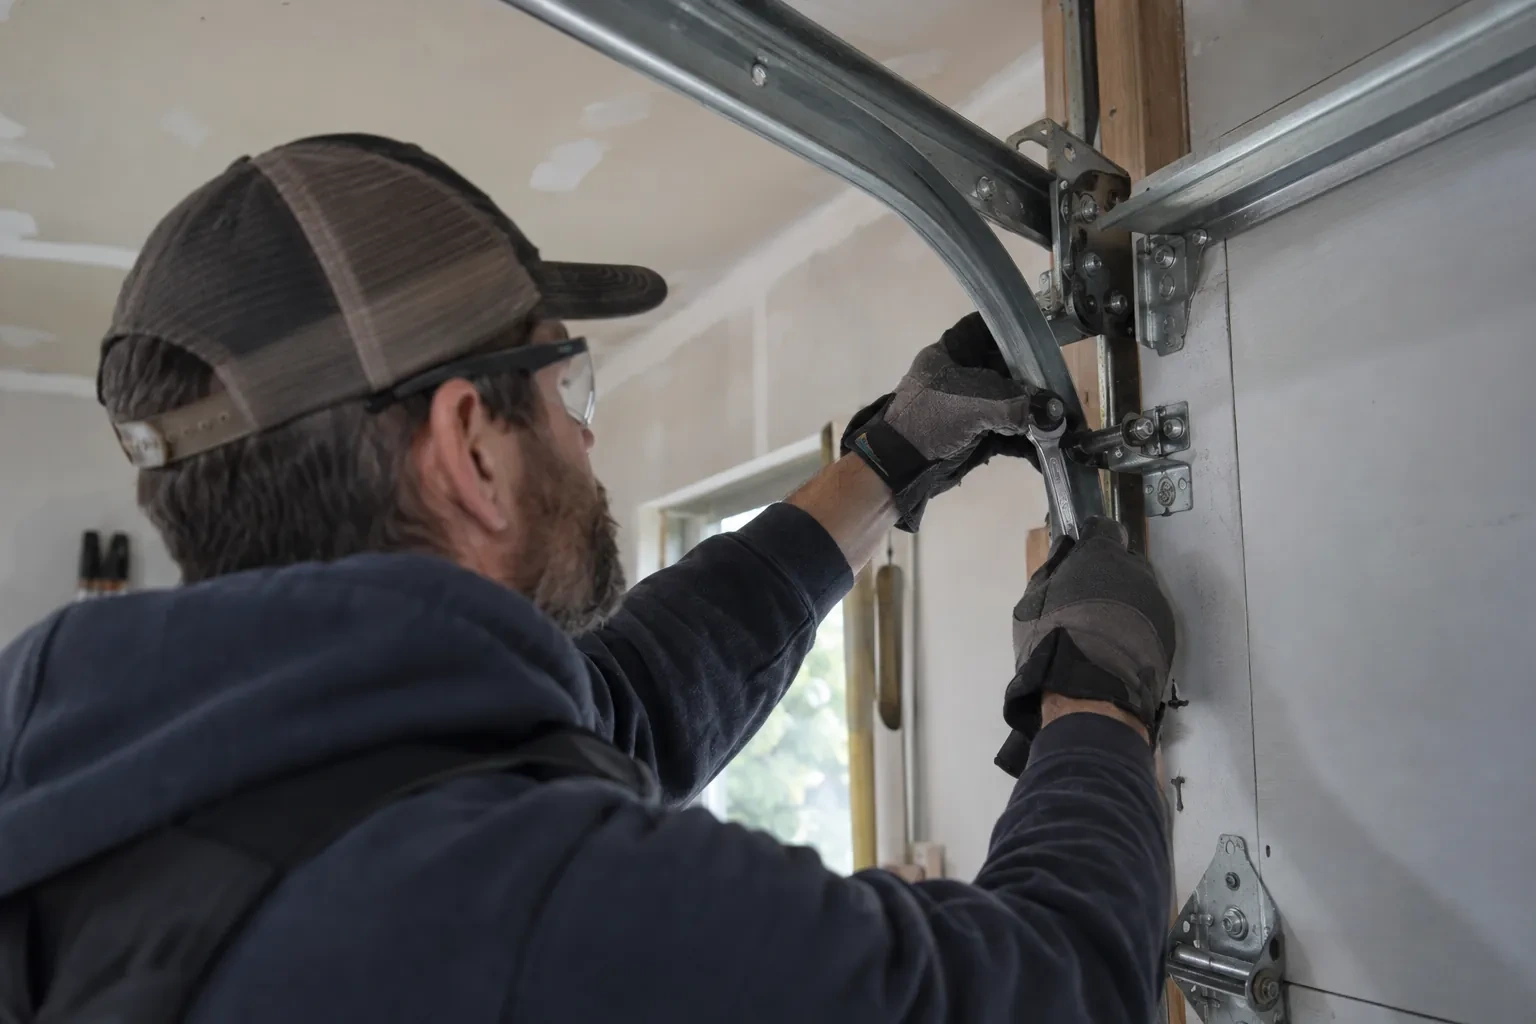
The strip is only as secure as the wood behind it, so the jambs are probed with an awl along their length and especially the lowest part, where slush and salt sit all winter. Soft, dark or crumbling wood is marked for repair. The header is checked for sag and for gaps opening between it and the top section. Where the jambs are clad in aluminum or vinyl, the technician looks for what the cladding hides and for where the seal can be fastened through to solid material. This step often adds a splice of new lumber or PVC trim to the job, and it is what makes the new seal stay put.
Fitting the sides and closing the corners
Each side length is cut to run from tight under the header piece down to the floor, with a little spare to trim in place. It is set with the same light contact as the header and fastened top to bottom. At the top corner, the side fin tucks under the header fin so they overlap, leaving no square hole for drafts or mice. At the floor the side is trimmed to meet the bottom seal on the door, so the seal is continuous around three sides and hands off to the fourth. Both sides are done the same way, checking the door edge gap as they go.
A look round each season
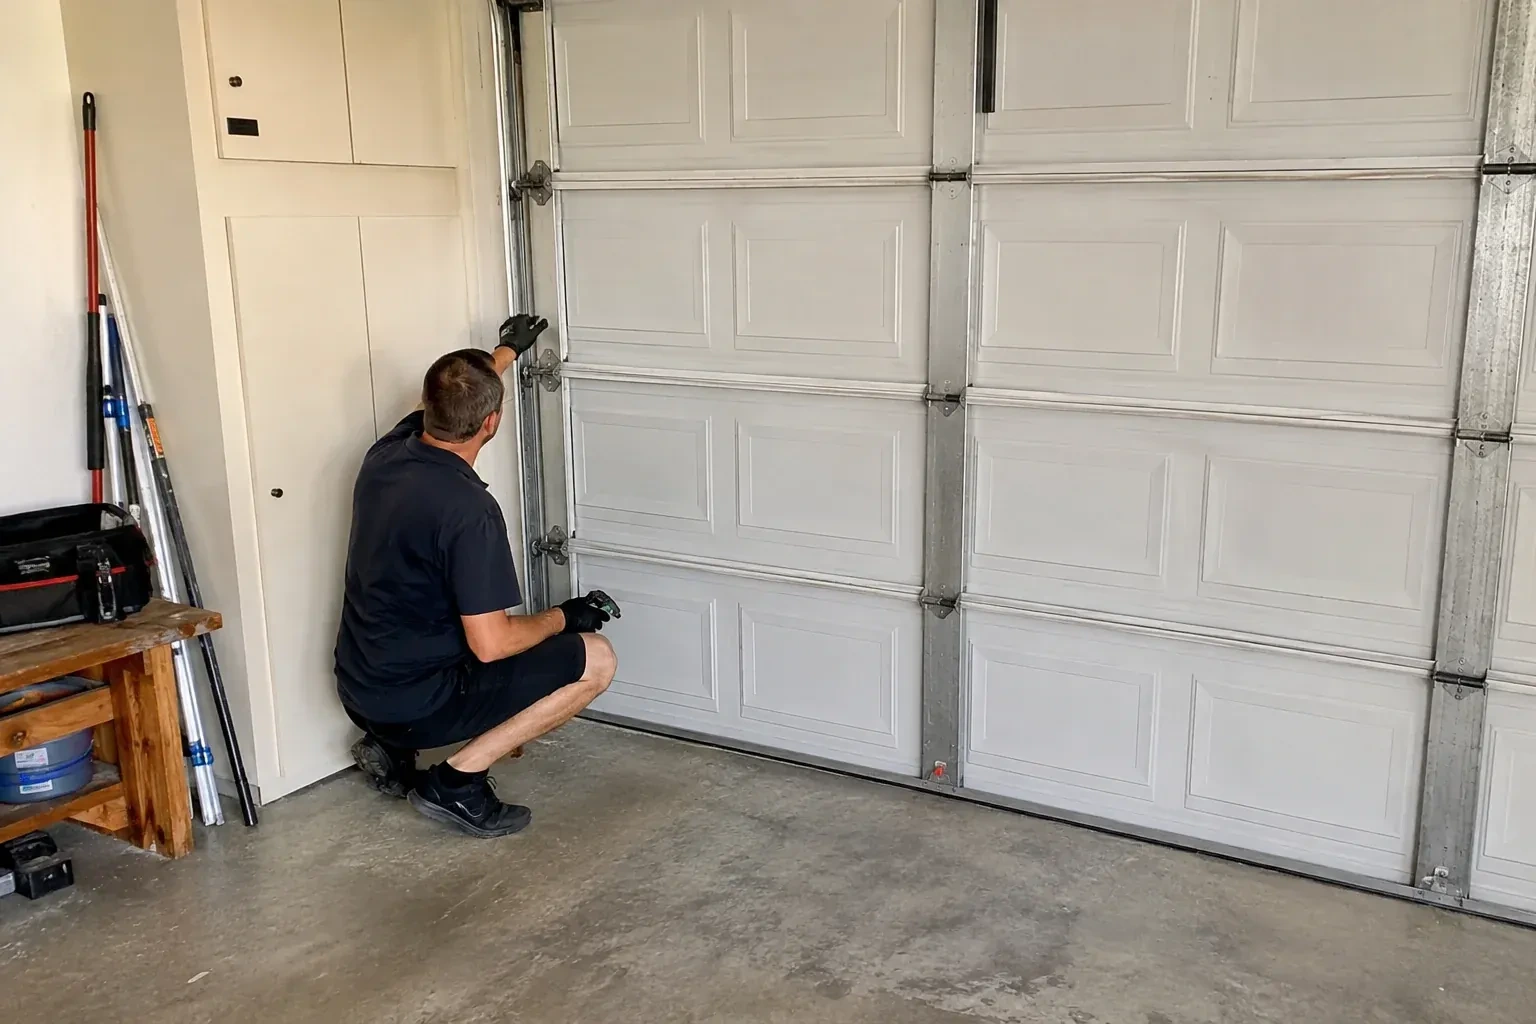
The simplest care is a glance four times a year. Close the door, switch off the lights and look along both sides and the header for daylight. Then step outside and check that no length has lifted, that the corners are still tucked together and that the fin is still soft when you press it with a thumb. Cracks, a hard grey surface or a piece that has shrunk back from the door are the early signs. Manufacturers suggest wiping the seal down with a damp cloth a few times a year, and that also lets you feel any change in it.
Garage Door Perimeter Weatherstrip
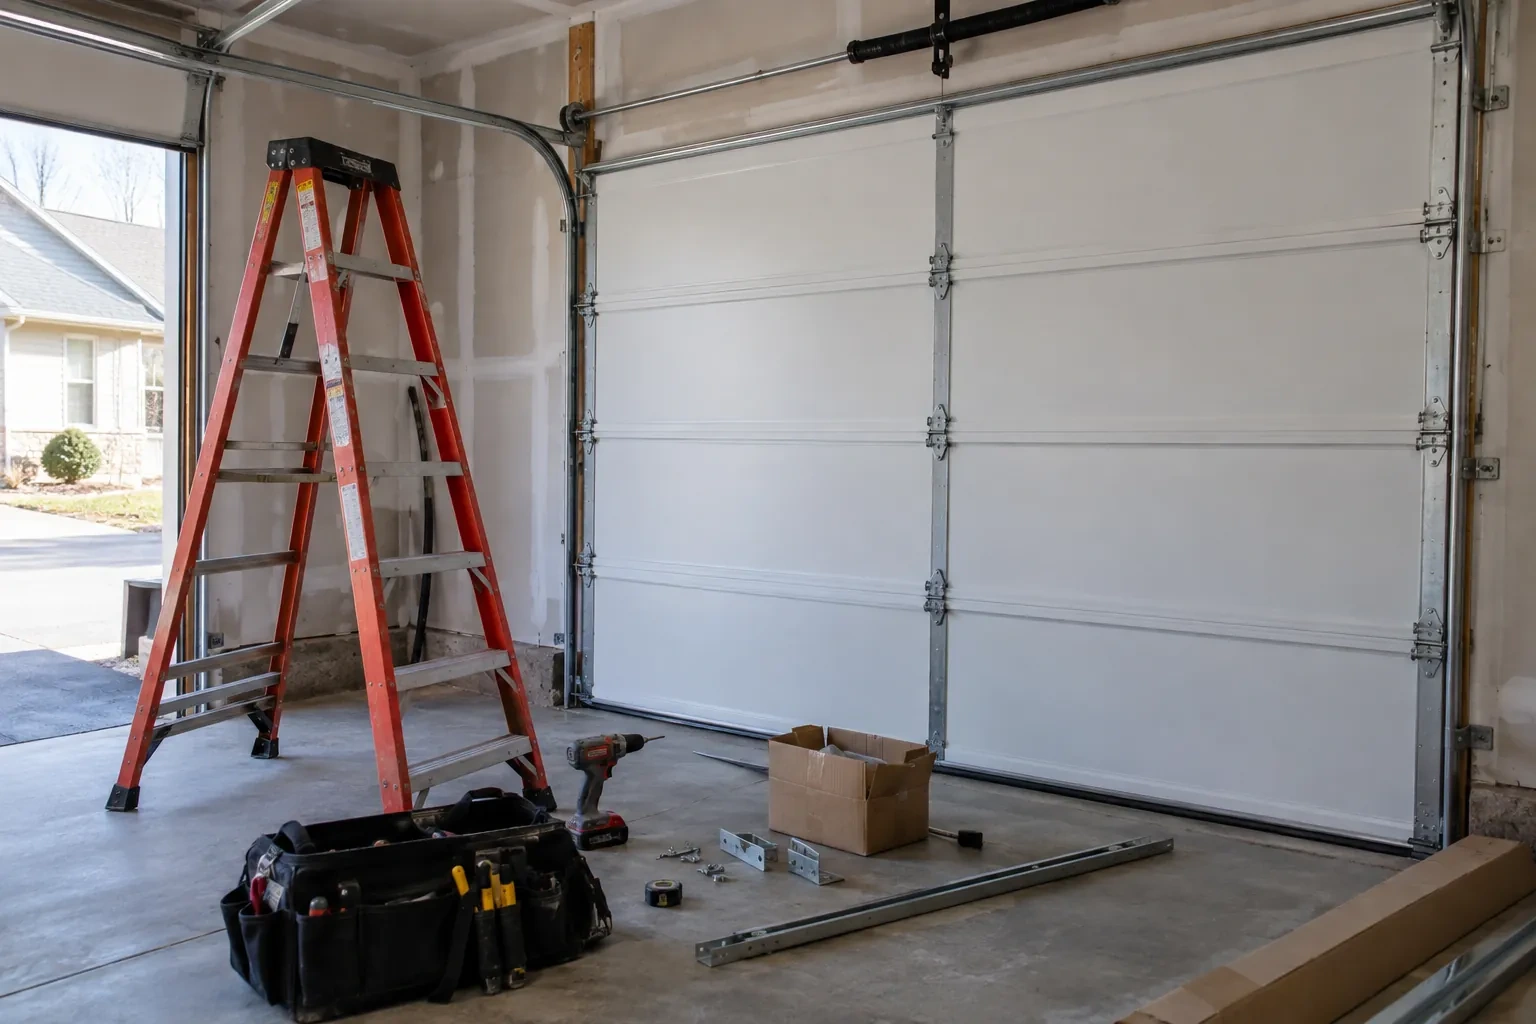
In the van
Galvanized or stainless trim nails
Utility knife and mitre saw
Epoxy consolidant and exterior primer
Silicone spray lubricant
Flat bar, hammer and nail set
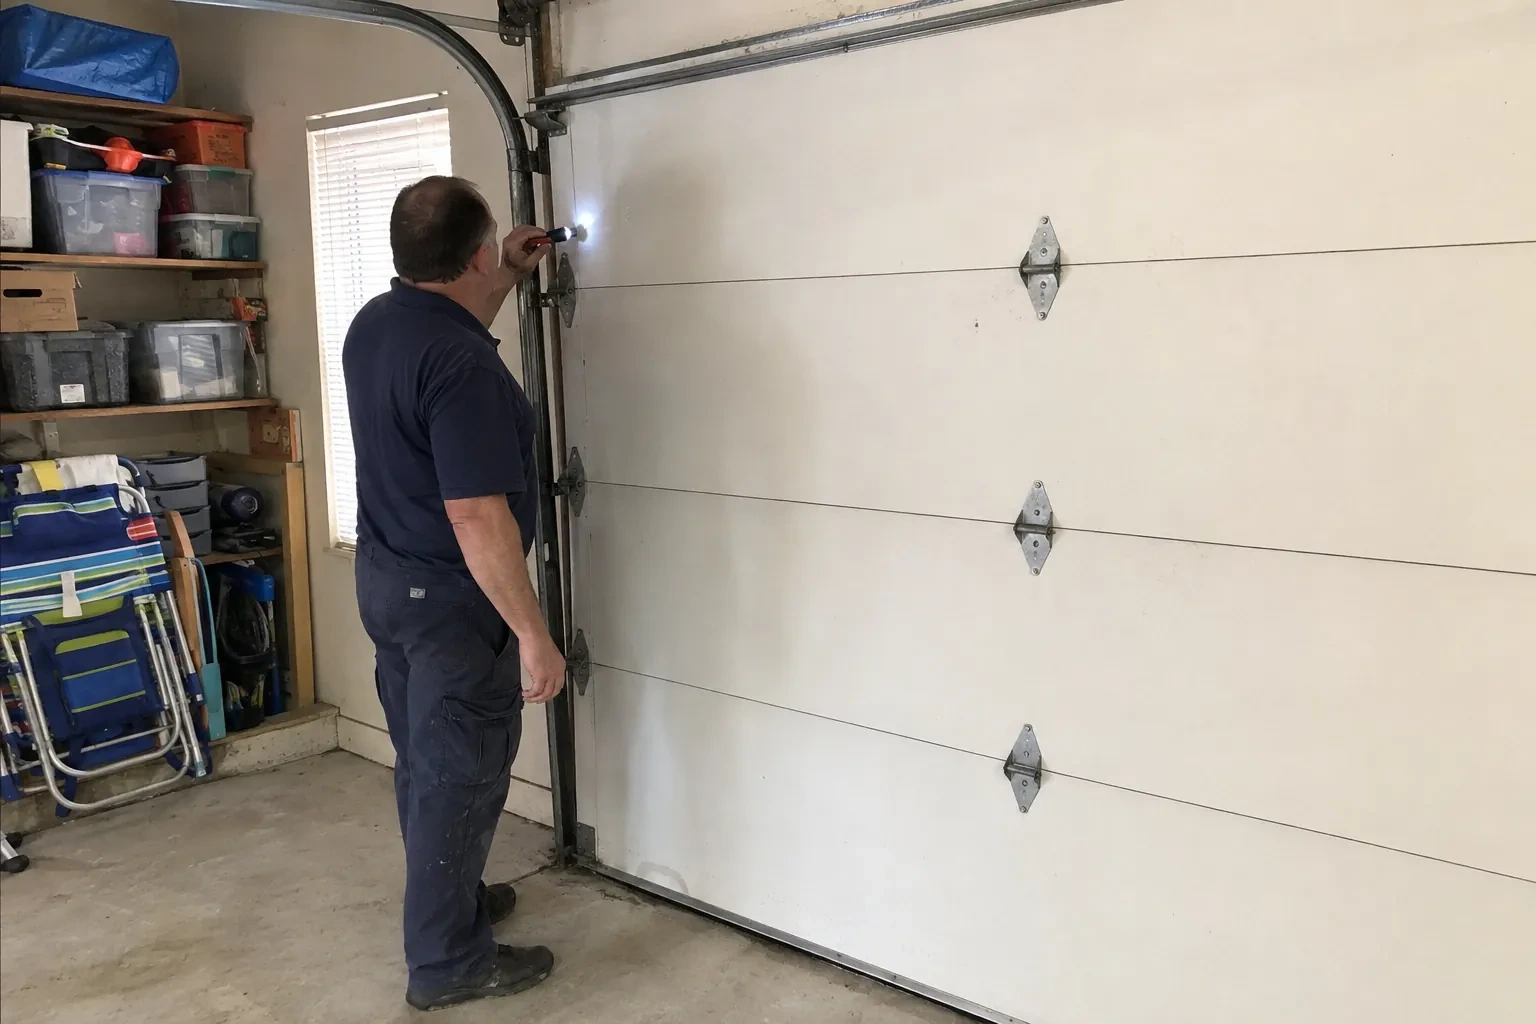
Garage Door Perimeter Weatherstrip
What affects the quote
Colour and profile
Standard colours and fin widths are carried on the truck. A less common colour, an extra-wide fin or a commercial retainer with insert may be a special order, with the difference noted.
Alignment work on the door
Where the door sits out of square and a track bracket or the door itself needs small correction before the seal can meet it evenly, that adjustment is named separately.
Weather on the day
Cold weather means keeping vinyl warm between the van and the opening and fitting each length with extra care, so a winter visit can run a little longer than one in mild weather.
What to have ready
- Is the wood around the opening soft or rotten near the floor?
- Is the seal cracked, torn, loose, or missing in places?
- Does the door rub or catch on the seal when it moves?
Garage Door Perimeter Weatherstrip: questions
QuestionsHow long does perimeter weatherstrip usually last?
It depends on sun, cold and how the door meets it. One manufacturer's guide suggests replacing seals every two to three years, while a well-set fin kept free of paint and wiped with silicone before winter often goes considerably longer. Rather than a calendar, watch the fin: when it stiffens, cracks or shrinks back from the door, it has done its work.
How long does the visit take?
A straightforward fin replacement on a single door is often a matter of an hour or two once the technician is set up; a double door with a one-piece stop takes longer, and any jamb repair adds to it. Most of the time goes into checking the door, preparing the surface and setting the contact carefully, since those are what make the seal last. You are given a sense of the timing when the work is confirmed.
Can the seal be replaced in winter?
Yes. The technician keeps the lengths warm in the van until the moment they are fitted, because cold vinyl is stiff and can split at a fastener, and works with the door closed so the garage is not open to the weather for long. Jamb repairs can be done in the cold as well. Many households have it done in autumn or winter because that is when the gaps make themselves felt.
Related services
- Garage Door Tune-UpYou pulled the red cord to lift the door by hand during a power cut and it felt like lifting a car.
- Off-Track Garage Door ResetThe door came down fine but with a scraping noise, and now the vertical track on one side is bowed away from the wall.
- Garage Door Panel ReplacementYears of slap shots have peppered the lower two sections with dents.