Repairs · Glen Morris
Garage Door Perimeter Weatherstrip in Glen Morris
The new door went in last year and looks perfect, but the old wooden stop and its tired seal were left in place.
In plain words
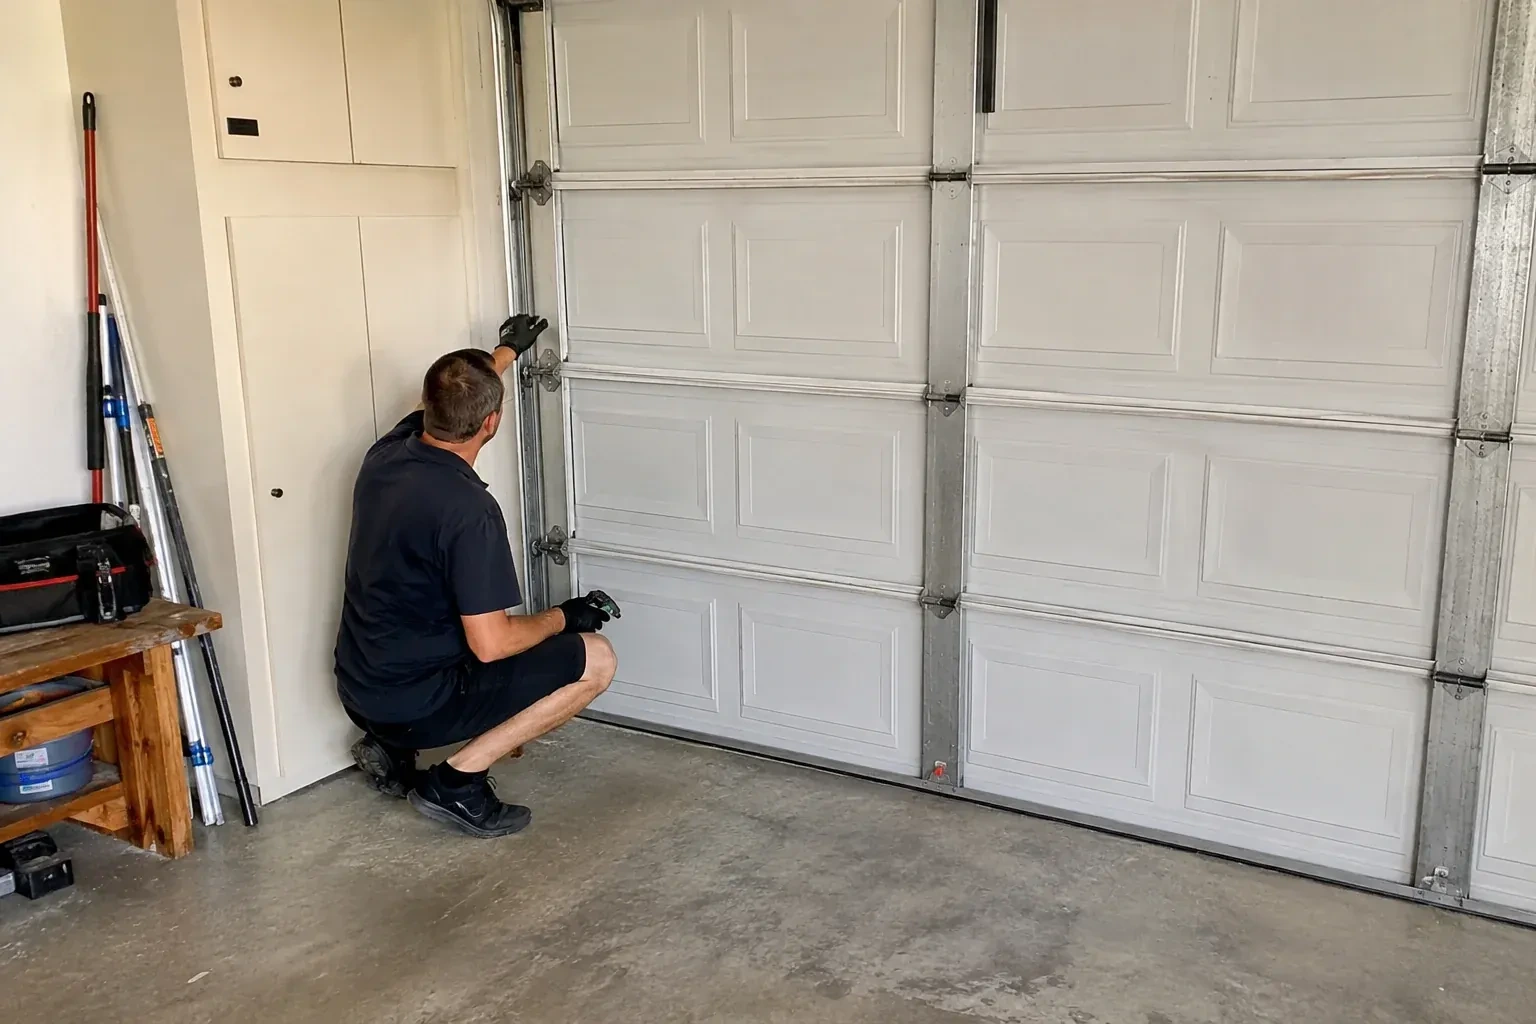
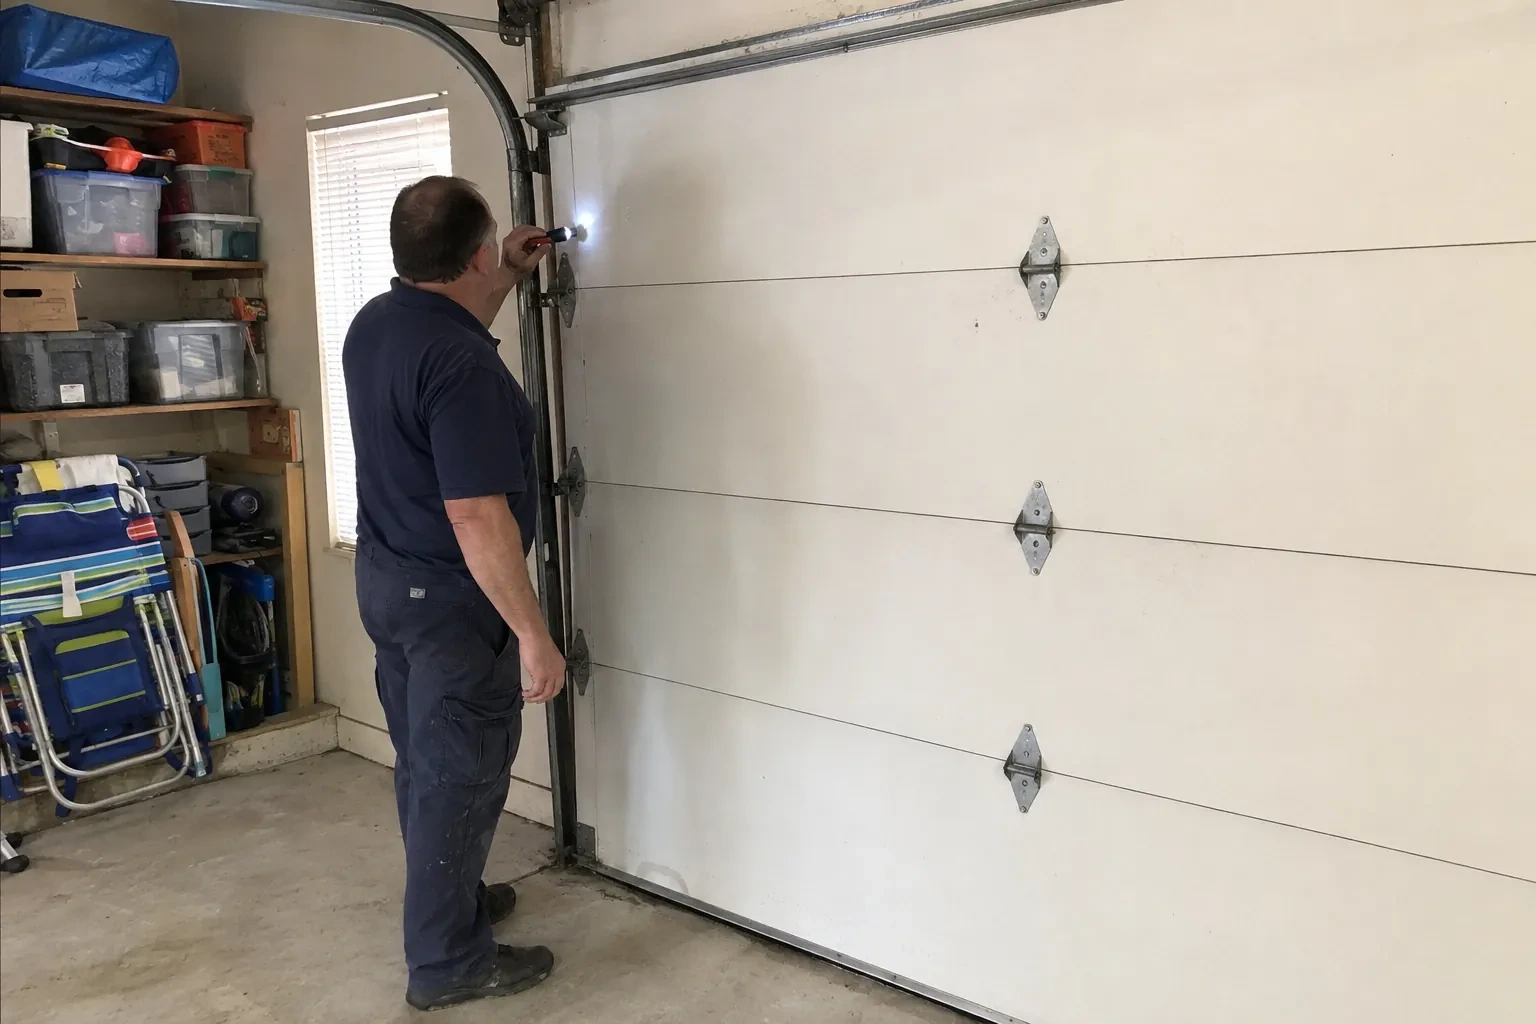
The job follows a steady order. First the door is closed and the gaps are found from inside, by daylight and by feel. Then the door itself is checked for how it sits in the opening, since a seal only works against a door that is square to the frame. The jambs and header are inspected for rot and for how the old strip is fixed. The old material comes off, the surface is cleaned and repaired where needed, the header piece is fitted first and the sides after it, and the door is cycled several times to confirm nothing catches. You are shown the result with the lights off.
How the visit goesThe bedroom over the garage is always the cold room, and standing in the garage you can feel why: a steady draft along the door edges that moves the cobwebs on the wall. The seal around the opening has flattened to nothing.
Garage Door Perimeter Weatherstrip
How the visit goes
Measuring for the new pieces
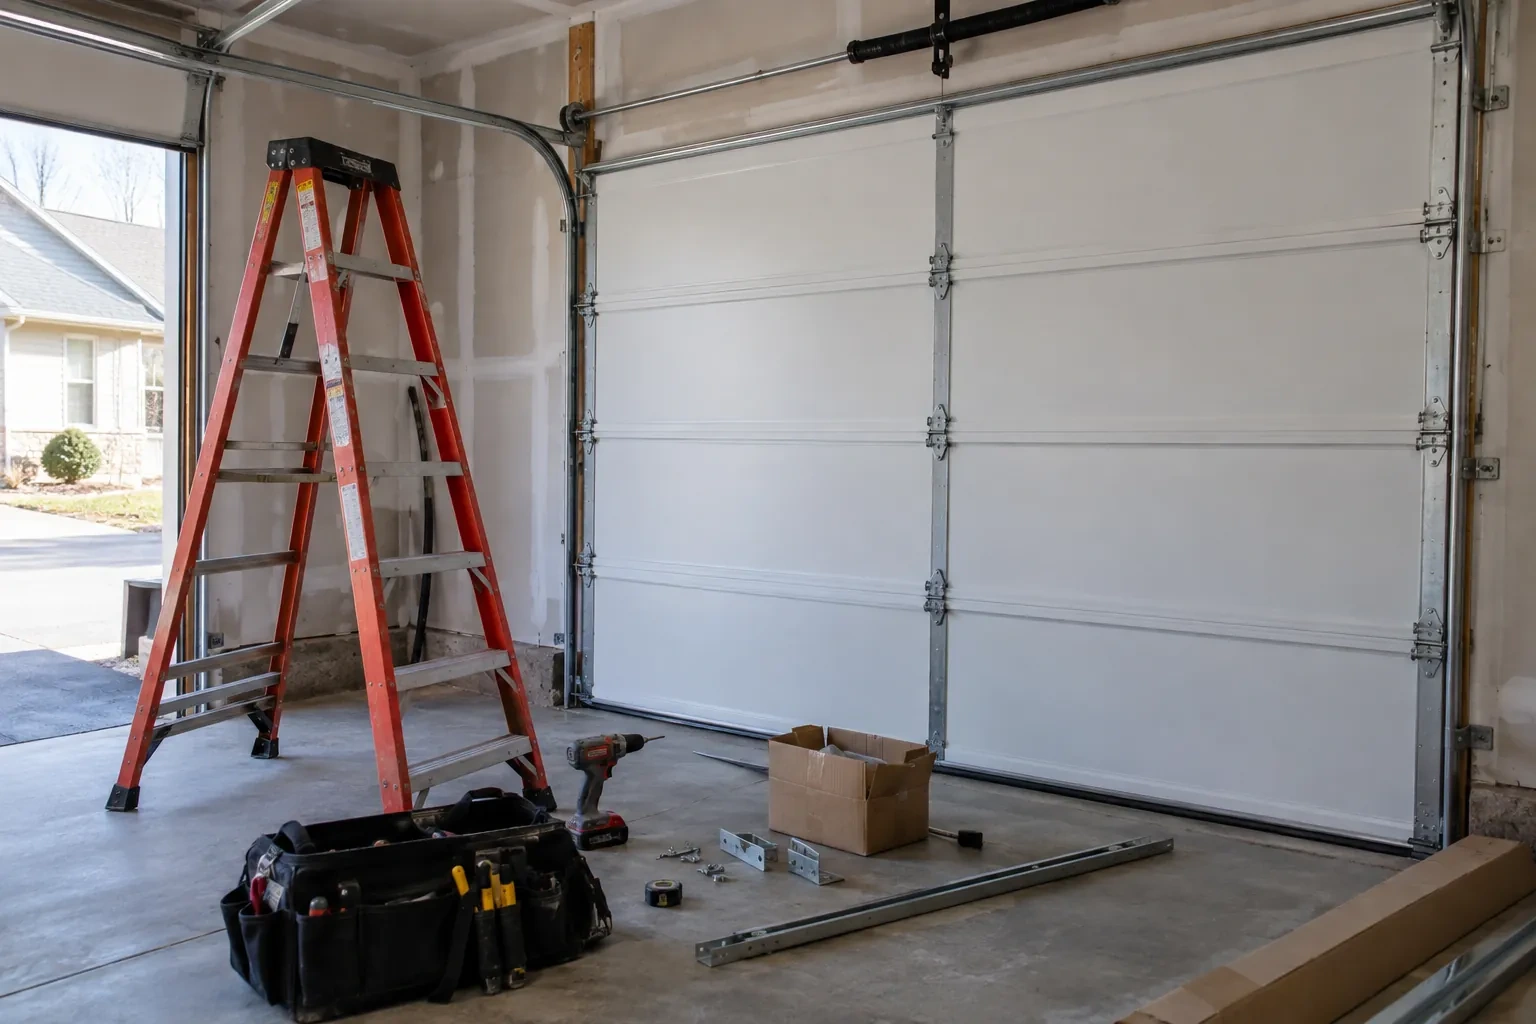
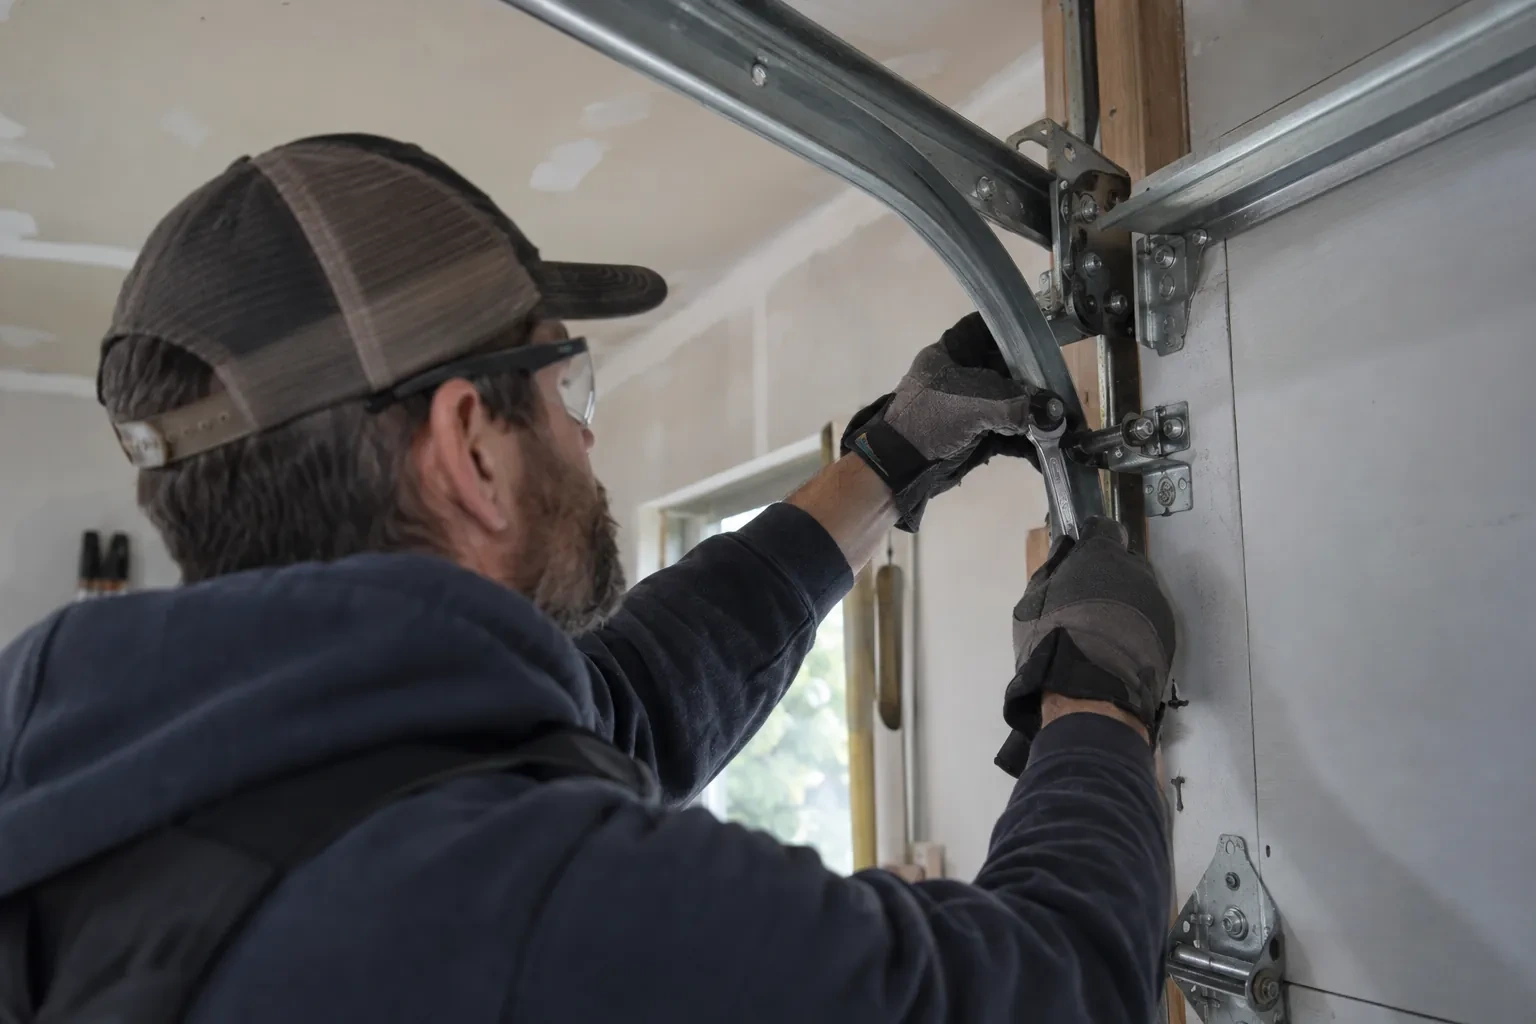
With the door closed, the header is measured across the full width of the opening and each side from header to floor, because openings are rarely the same on both sides. The profile is chosen to match the gap: a wider fin for a door that sits a little back from the stop, a narrower one where the gap is slight, and a one-piece stop where the wood is going. Colour is matched to the trim from a range of standard finishes. The technician also notes whether the existing stop projects far enough to cover the door edge, since a stop set too shallow leaves the fin working alone.
Setting the fin against the door
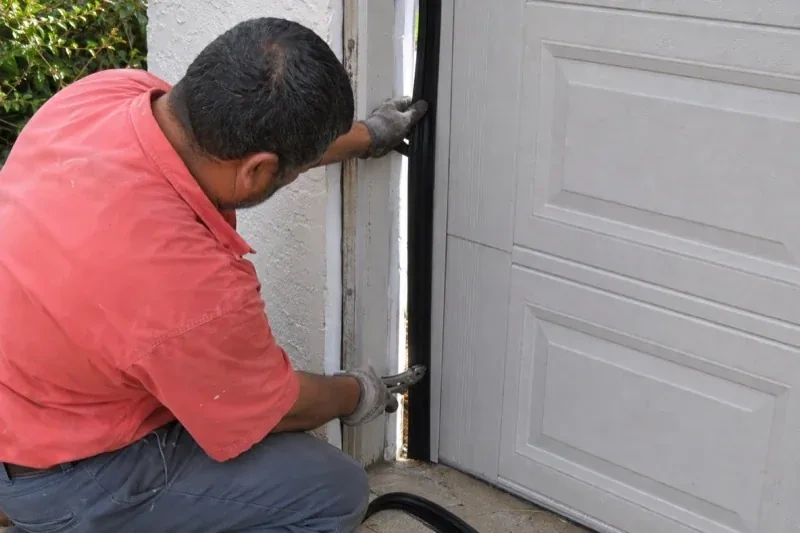
Getting the fin's contact right is the heart of the work. The technician holds each length against the closed door and adjusts it until the fin bends toward the door just enough to seal without pushing back. A fin set too far off leaves a standing gap that shows as daylight; one set too hard drags the door, folds under on the way down and wears through well before its time. Contact is checked at several points along each side, since a jamb is rarely dead straight, and the fastener positions follow the door face rather than the wood behind it.
Slush, salt and the bottom of the jambs
The lowest part of each jamb is where the weather does its work, so a little attention there protects the whole seal. Push slush away from the jambs when clearing the driveway rather than piling it against them, and rinse the salt off the bottom of the stop on a mild day. Keep the joint between the jamb and the sill caulked so meltwater runs off the face instead of behind it. If a section of jamb was replaced, keep its paint or PVC surface intact. A dry jamb base holds its fasteners, and fasteners that hold keep the seal tight.
Garage Door Perimeter Weatherstrip
In the van
Galvanized or stainless trim nails
Utility knife and mitre saw
Epoxy consolidant and exterior primer
Silicone spray lubricant
Flat bar, hammer and nail set
Garage Door Perimeter Weatherstrip
What affects the quote
Commercial or oversized openings
Wider and taller commercial doors often carry an aluminum retainer with a rubber insert or a brush seal, and the material and fitting time differ from a residential vinyl seal.
Removing the old stop and paint build-up
Lifting a wood stop that has been painted for decades, scraping old adhesive and knocking down paint ridges takes longer than pulling a loose fin, and the time shows in the quote.
Colour and profile
Standard colours and fin widths are carried on the truck. A less common colour, an extra-wide fin or a commercial retainer with insert may be a special order, with the difference noted.
What to have ready
- Is your garage attached to the house, and is it heated?
- Is the existing seal a flexible strip on a wood stop, or a one-piece vinyl moulding?
- Have mice, leaves or water been getting in?
Garage Door Perimeter Weatherstrip: questions
QuestionsHow long does perimeter weatherstrip usually last?
It depends on sun, cold and how the door meets it. One manufacturer's guide suggests replacing seals every two to three years, while a well-set fin kept free of paint and wiped with silicone before winter often goes considerably longer. Rather than a calendar, watch the fin: when it stiffens, cracks or shrinks back from the door, it has done its work.
How long does the visit take?
A straightforward fin replacement on a single door is often a matter of an hour or two once the technician is set up; a double door with a one-piece stop takes longer, and any jamb repair adds to it. Most of the time goes into checking the door, preparing the surface and setting the contact carefully, since those are what make the seal last. You are given a sense of the timing when the work is confirmed.
Can the seal be replaced in winter?
Yes. The technician keeps the lengths warm in the van until the moment they are fitted, because cold vinyl is stiff and can split at a fastener, and works with the door closed so the garage is not open to the weather for long. Jamb repairs can be done in the cold as well. Many households have it done in autumn or winter because that is when the gaps make themselves felt.
Related services
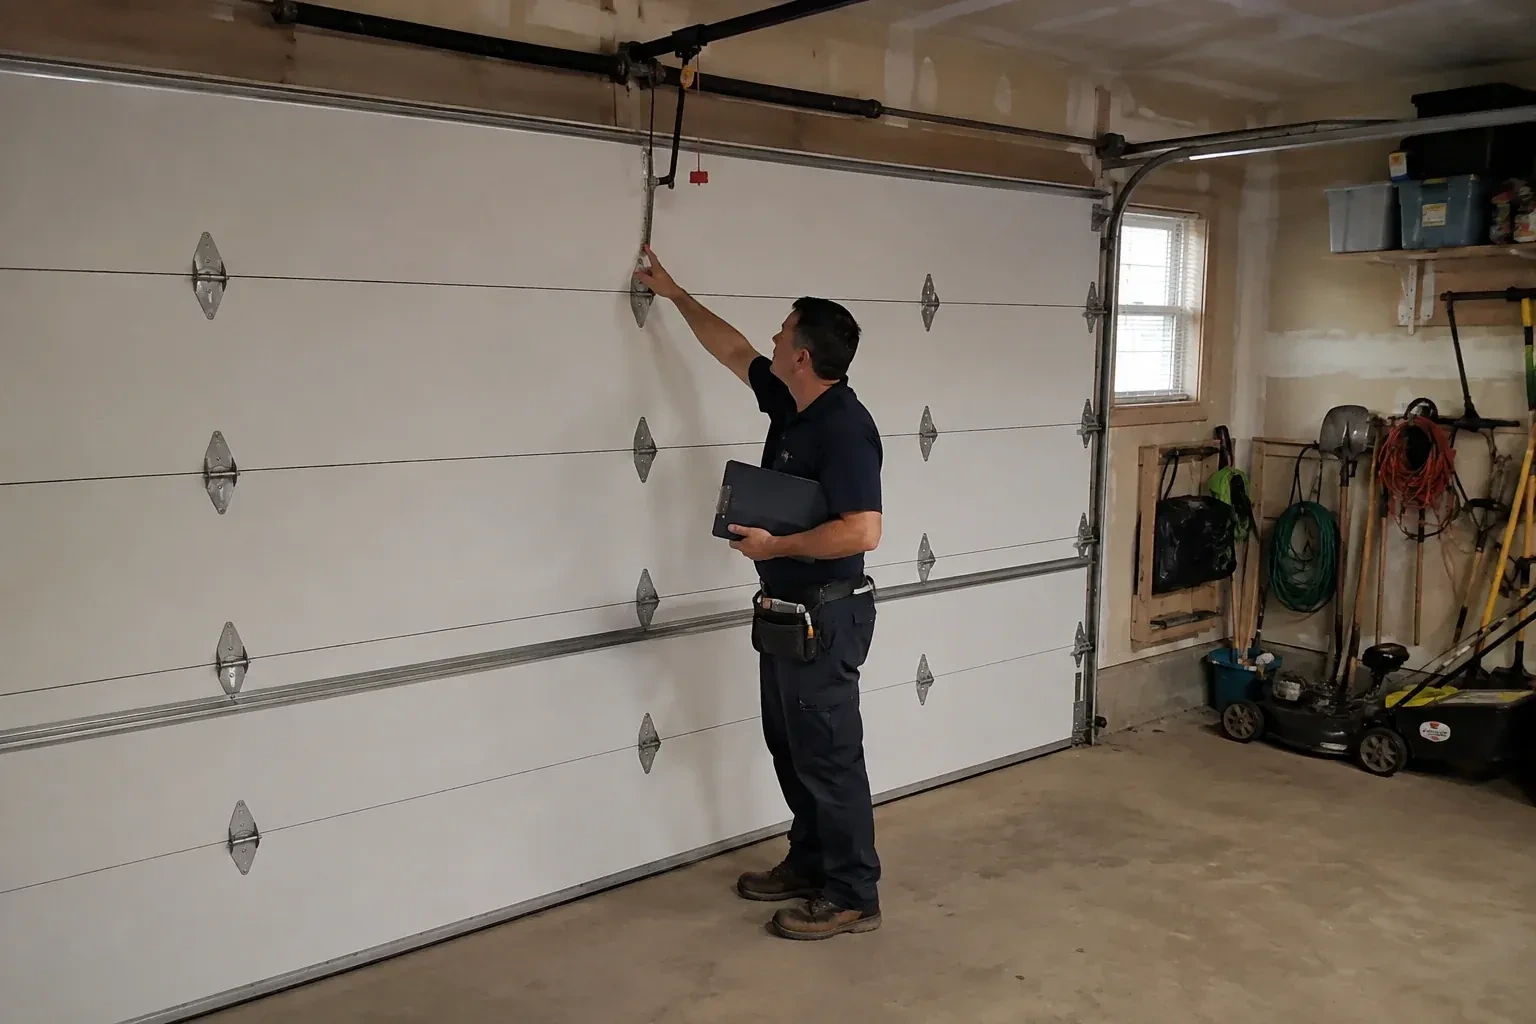
- Garage Door Tune-UpYou pulled the red cord to lift the door by hand during a power cut and it felt like lifting a car.
- Off-Track Garage Door ResetThe door came down fine but with a scraping noise, and now the vertical track on one side is bowed away from the wall.
- Garage Door Panel ReplacementYears of slap shots have peppered the lower two sections with dents.